I am going to explain how to handle events in JavaScript. An
event is something that happens on the page like a button is clicked, a key is pressed, or the mouse moves. JavaScript can listen to these events and run code in response, and that is called
event handling.
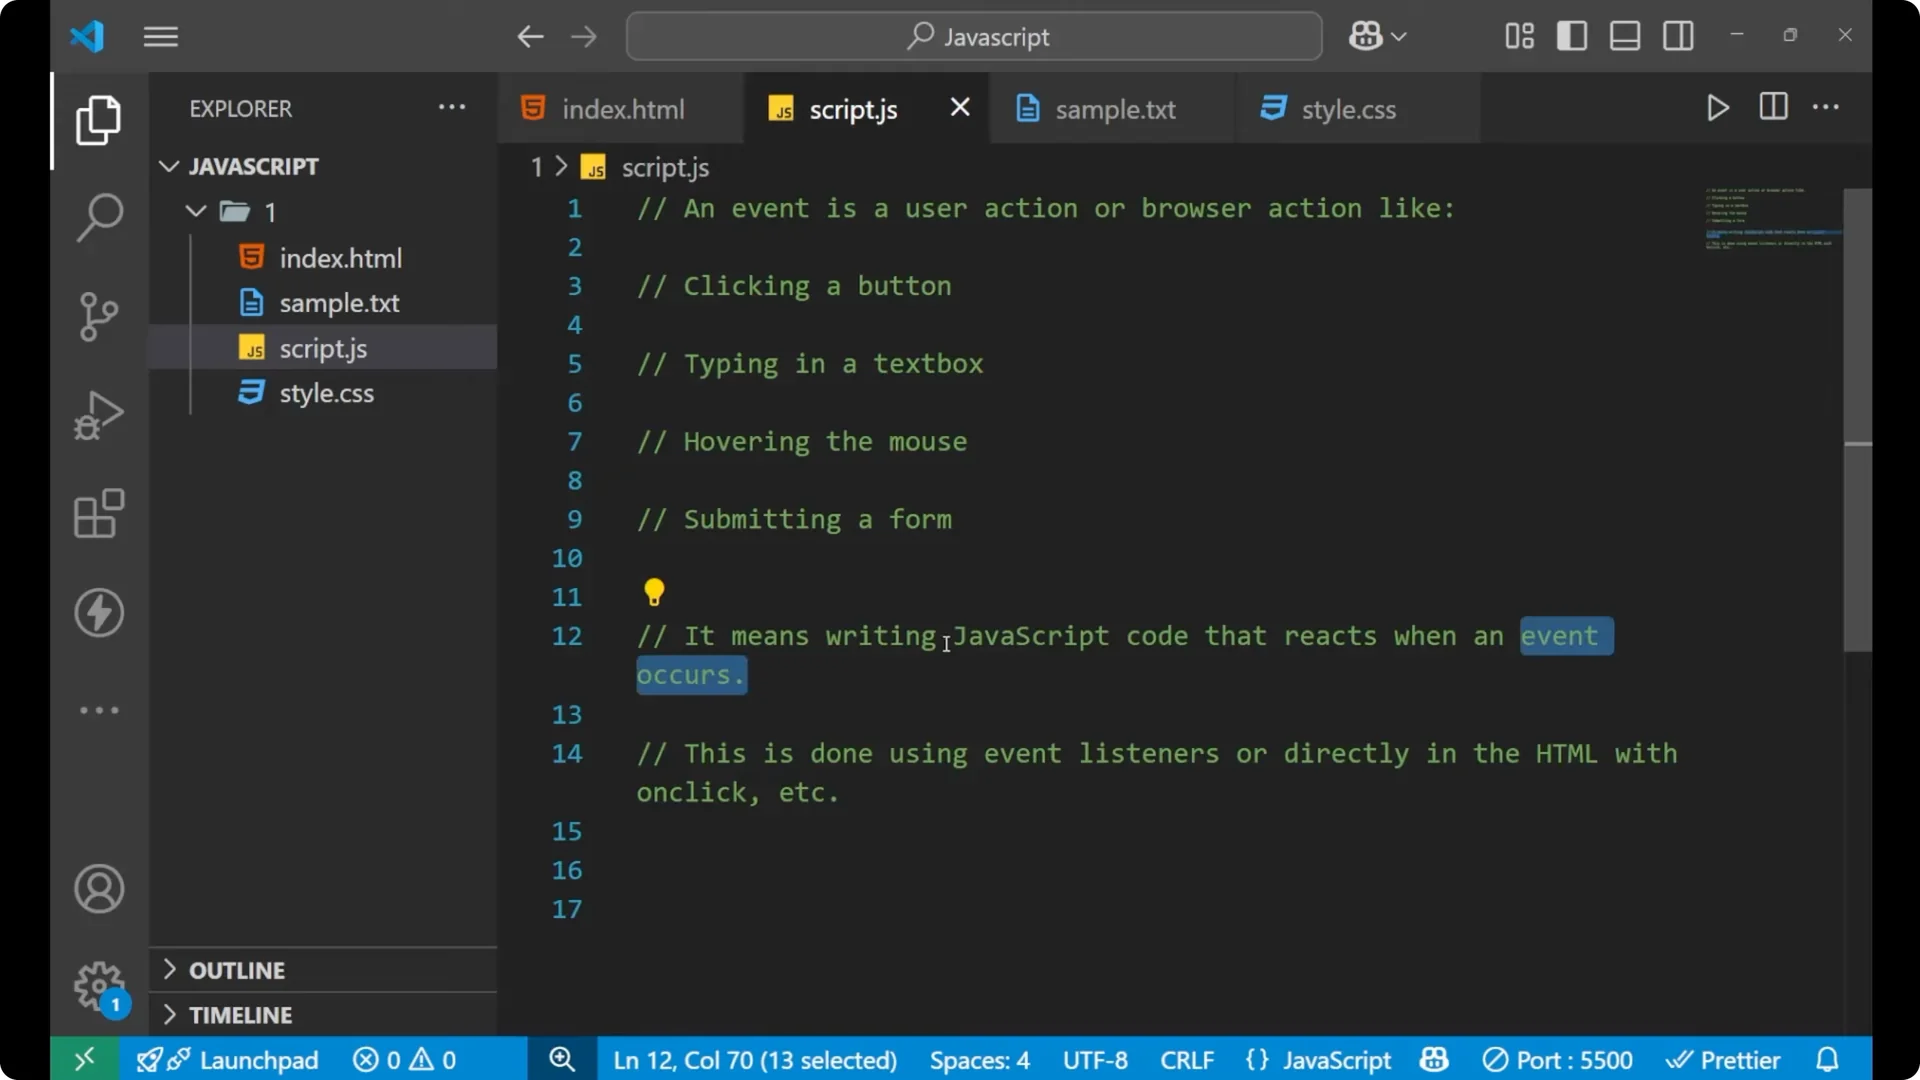
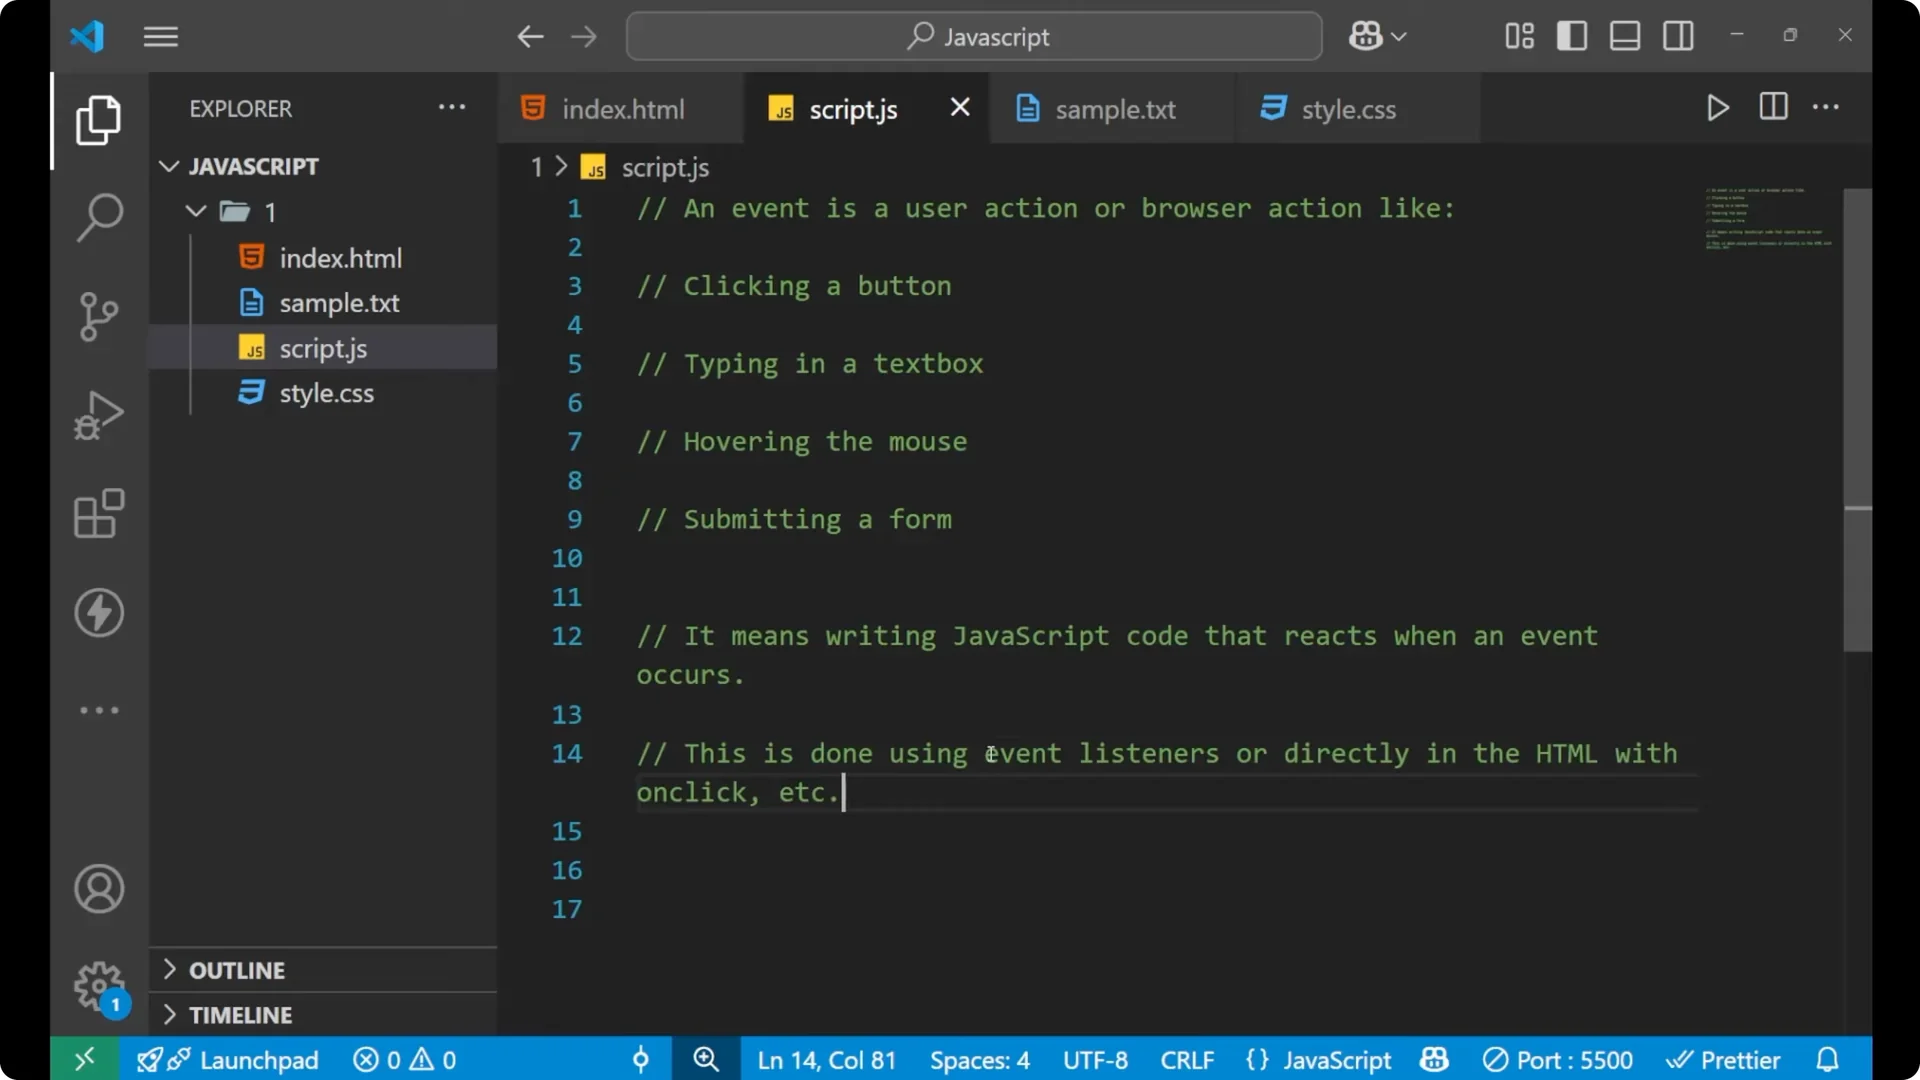
An event is a
user action. Whatever we do on the website is an event: clicking a button, typing in a text box, hovering the mouse on any element, or submitting a form. Writing JavaScript code that reacts when an event occurs means a specific part of code will run only when that event fires.
Event handling is done using
event listeners. You can attach them directly in HTML with attributes like `onclick`, or you can use `addEventListener` in JavaScript to listen for the type of event performed on the page.
Read More: JSON parse
Basics of JavaScript Event Handling
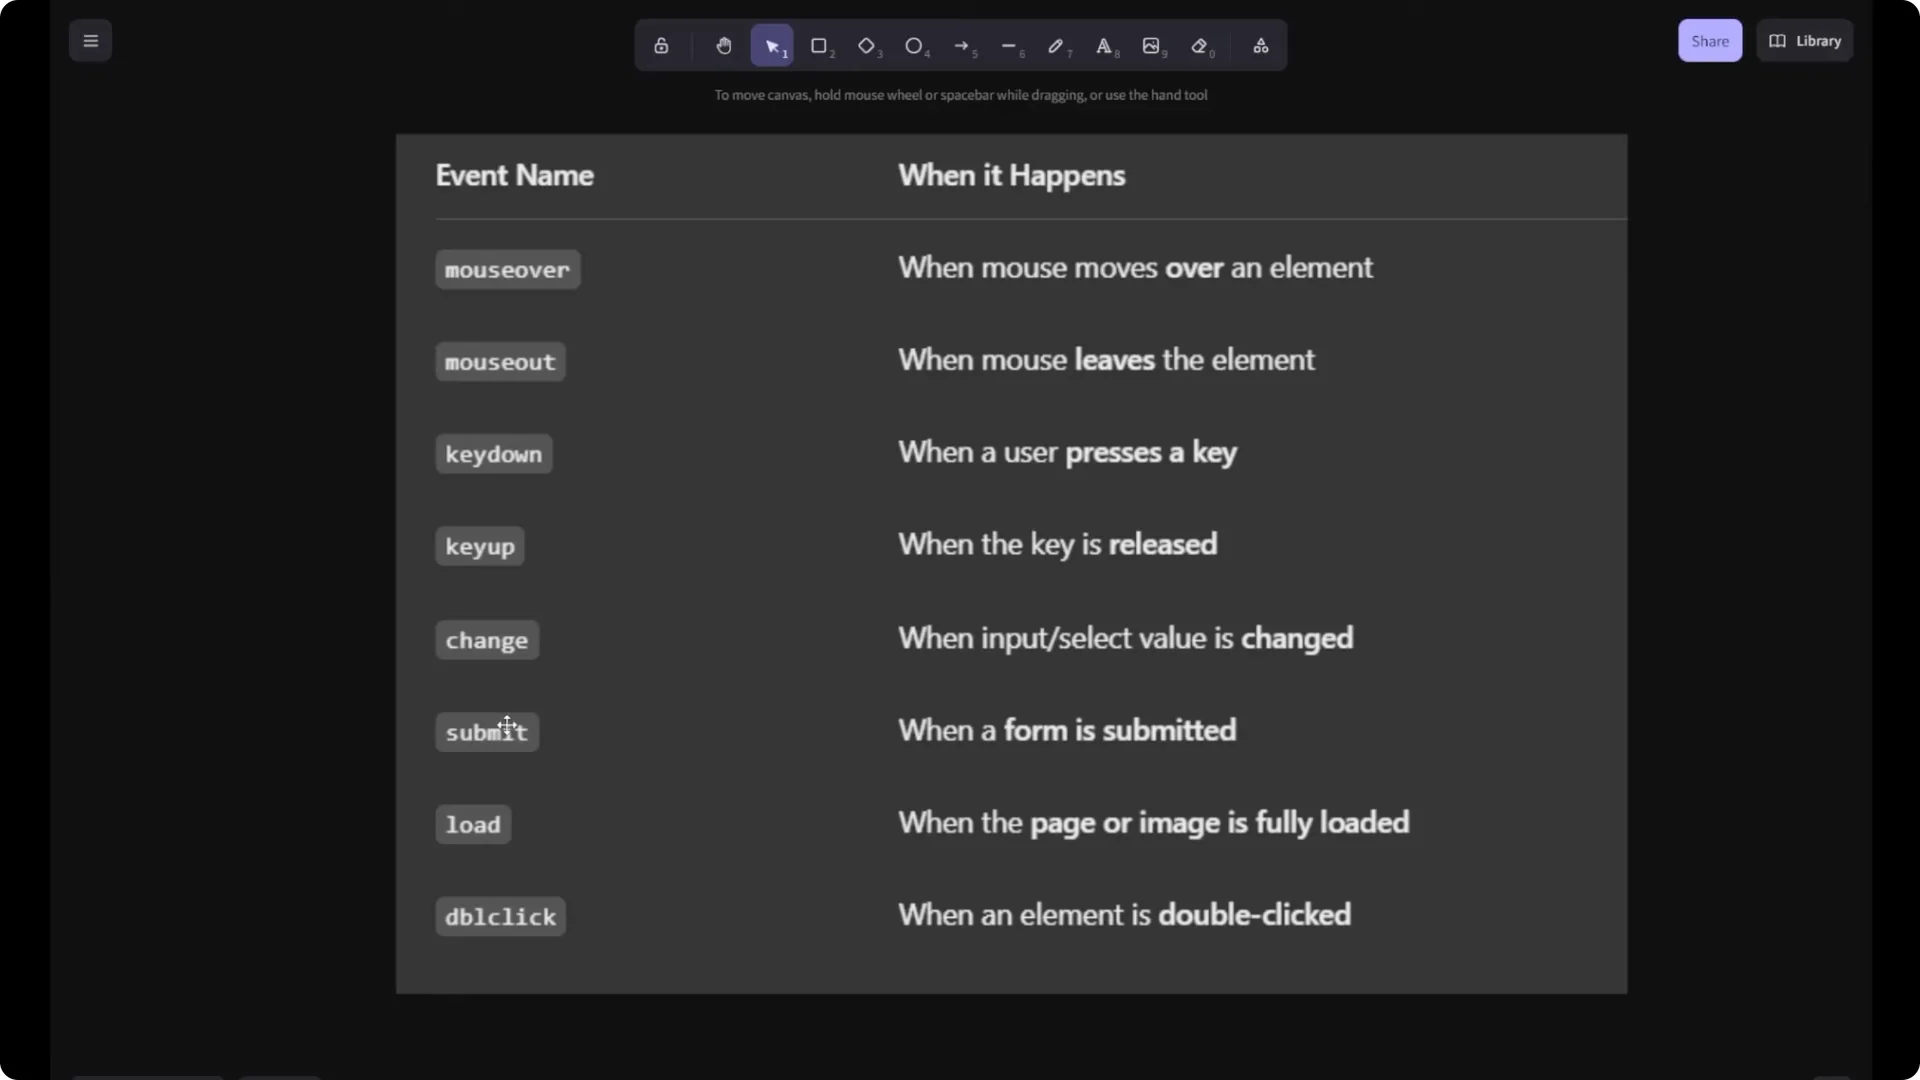
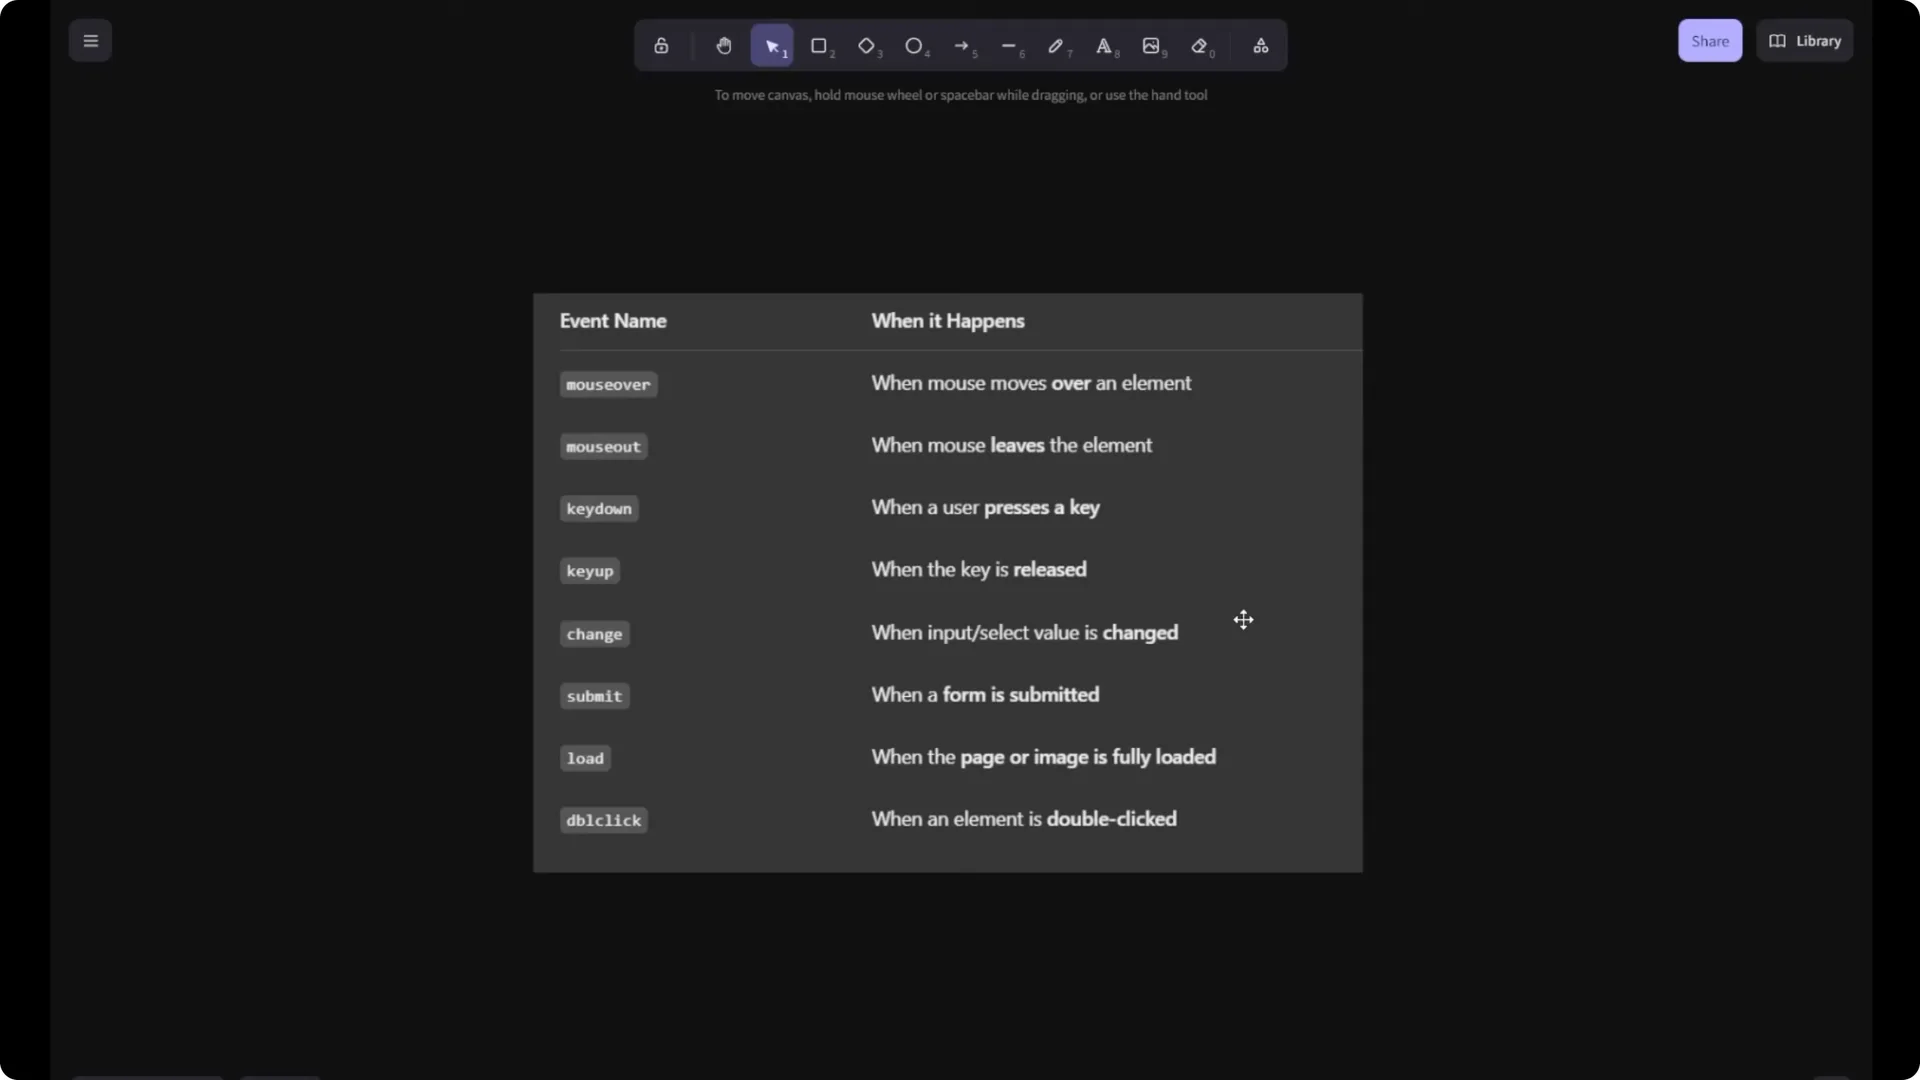
Events you will often use include
mouseover,
mouseout,
keydown,
keyup,
change,
submit,
load,
click, and
dblclick (double click). These are the exact strings you pass to your listener to target a specific action.
JavaScript listens for one of these event names and runs your handler function when it happens. The listener keeps watching until the event occurs.

Setting up JavaScript Event Handling

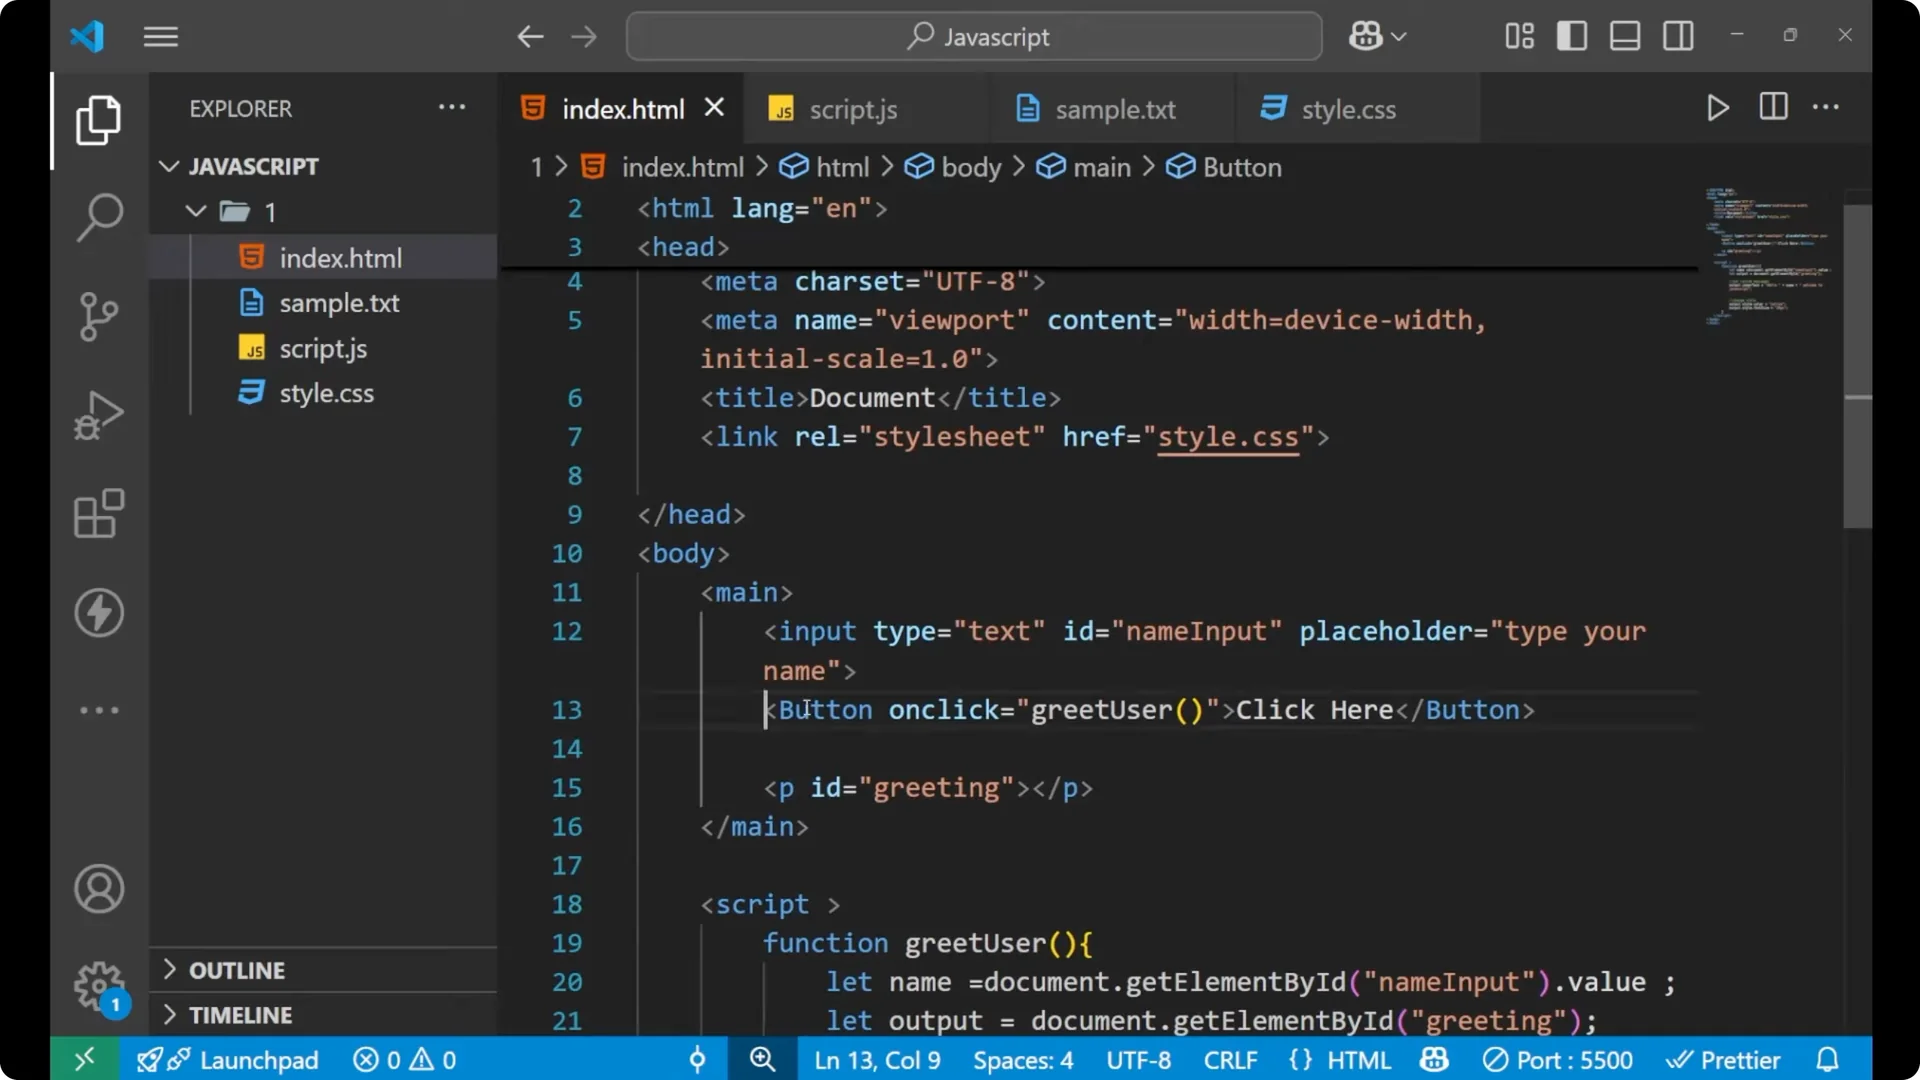
Inline onclick
You can call a function directly from HTML using `onclick` on a button.
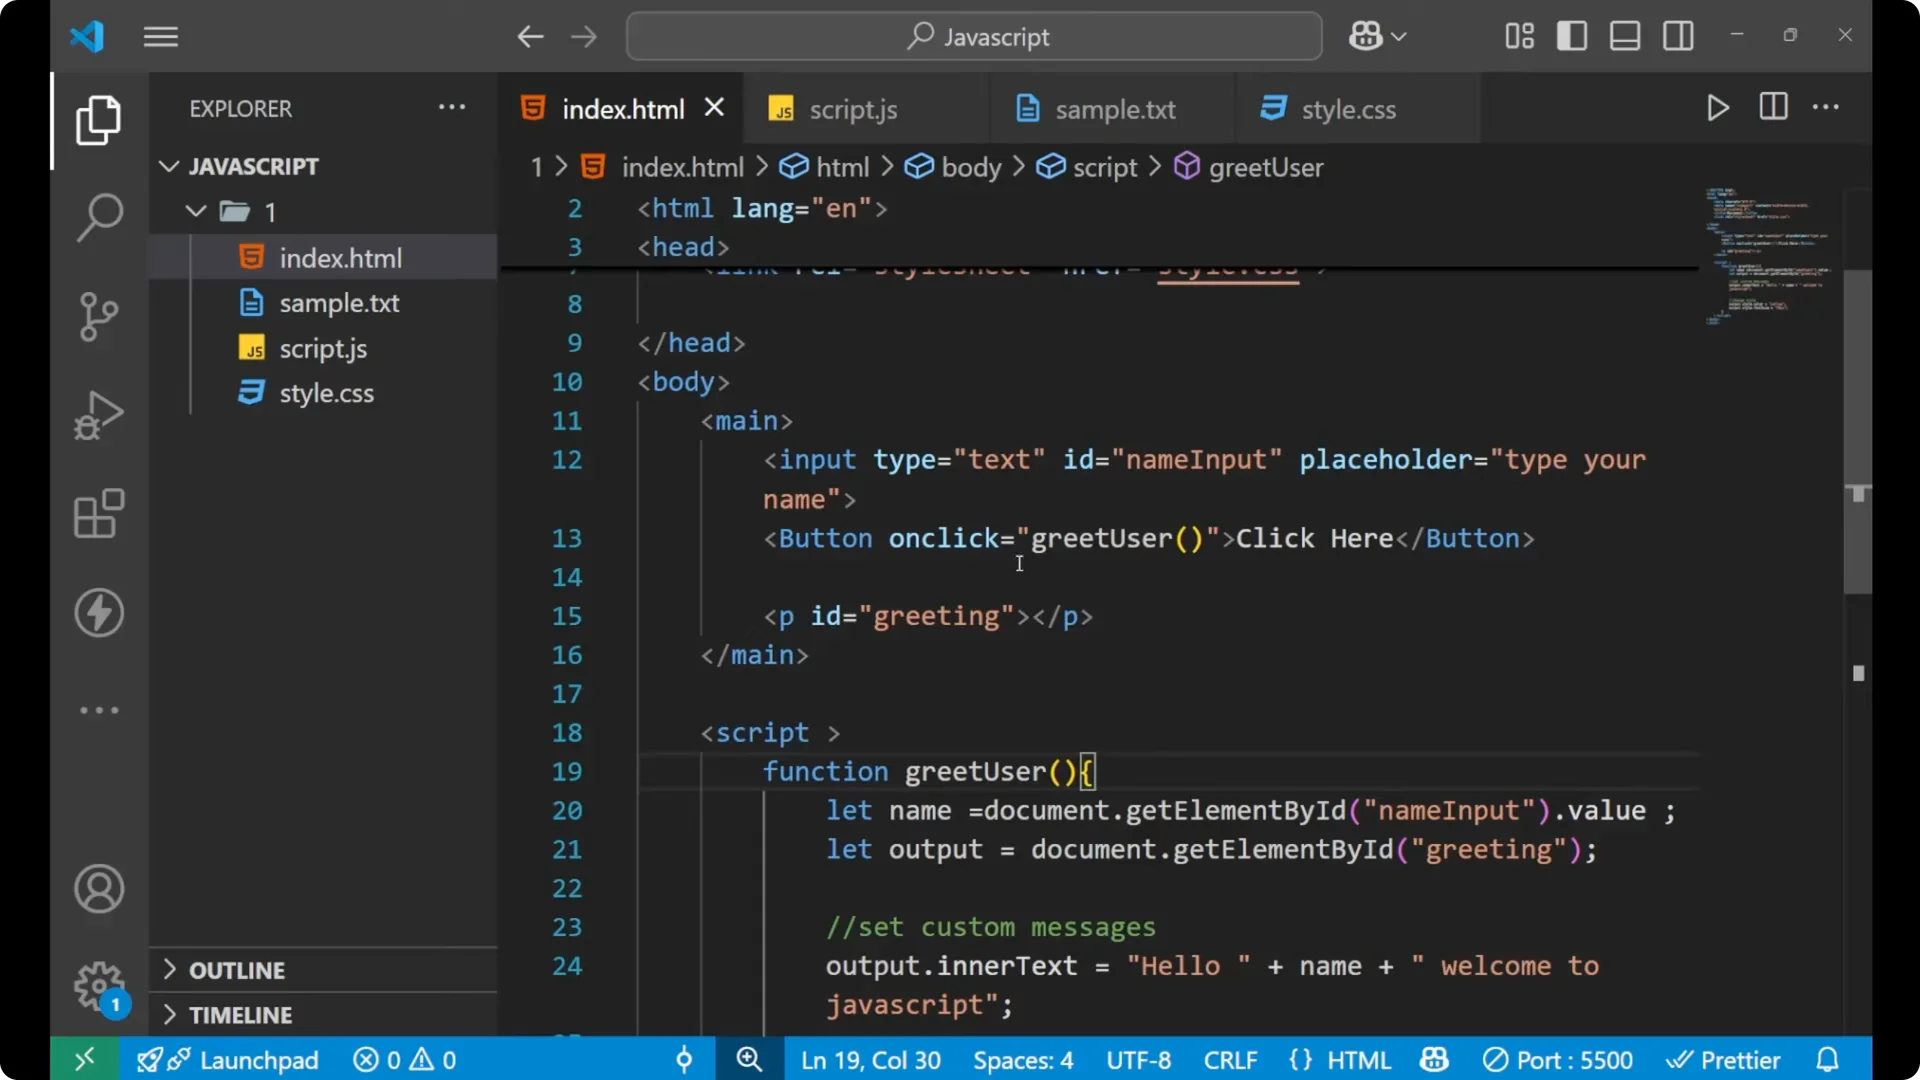
<button onclick="getUser()">Get user</button>
<script>
  function getUser() {
    // your logic here
  }
</script>
This works, but for clean separation of structure and behavior, I prefer using `addEventListener`.
addEventListener
Use `addEventListener` on a selected element, pass the event name, then provide a function that contains your logic.
const btn = document.getElementById('action');
btn.addEventListener('click', function () {
  // your logic here
});
If you have multiple event types and want to choose different logic per type, structure your handler with a simple
switch case.
Common JavaScript Event Handling events

- `mouseover`: when the mouse is moved over an element.
- `mouseout`: when the mouse leaves an element.
- `click`: when an element is clicked.
- `dblclick`: when an element is double-clicked.
- `keydown` and `keyup`: when a key is pressed or released.
- `change`: when the value of an input changes.
- `submit`: when a form is submitted.
- `load`: when the page or resource finishes loading.

Use these exact names in your listeners to reference the event you want.

JavaScript Event Handling example
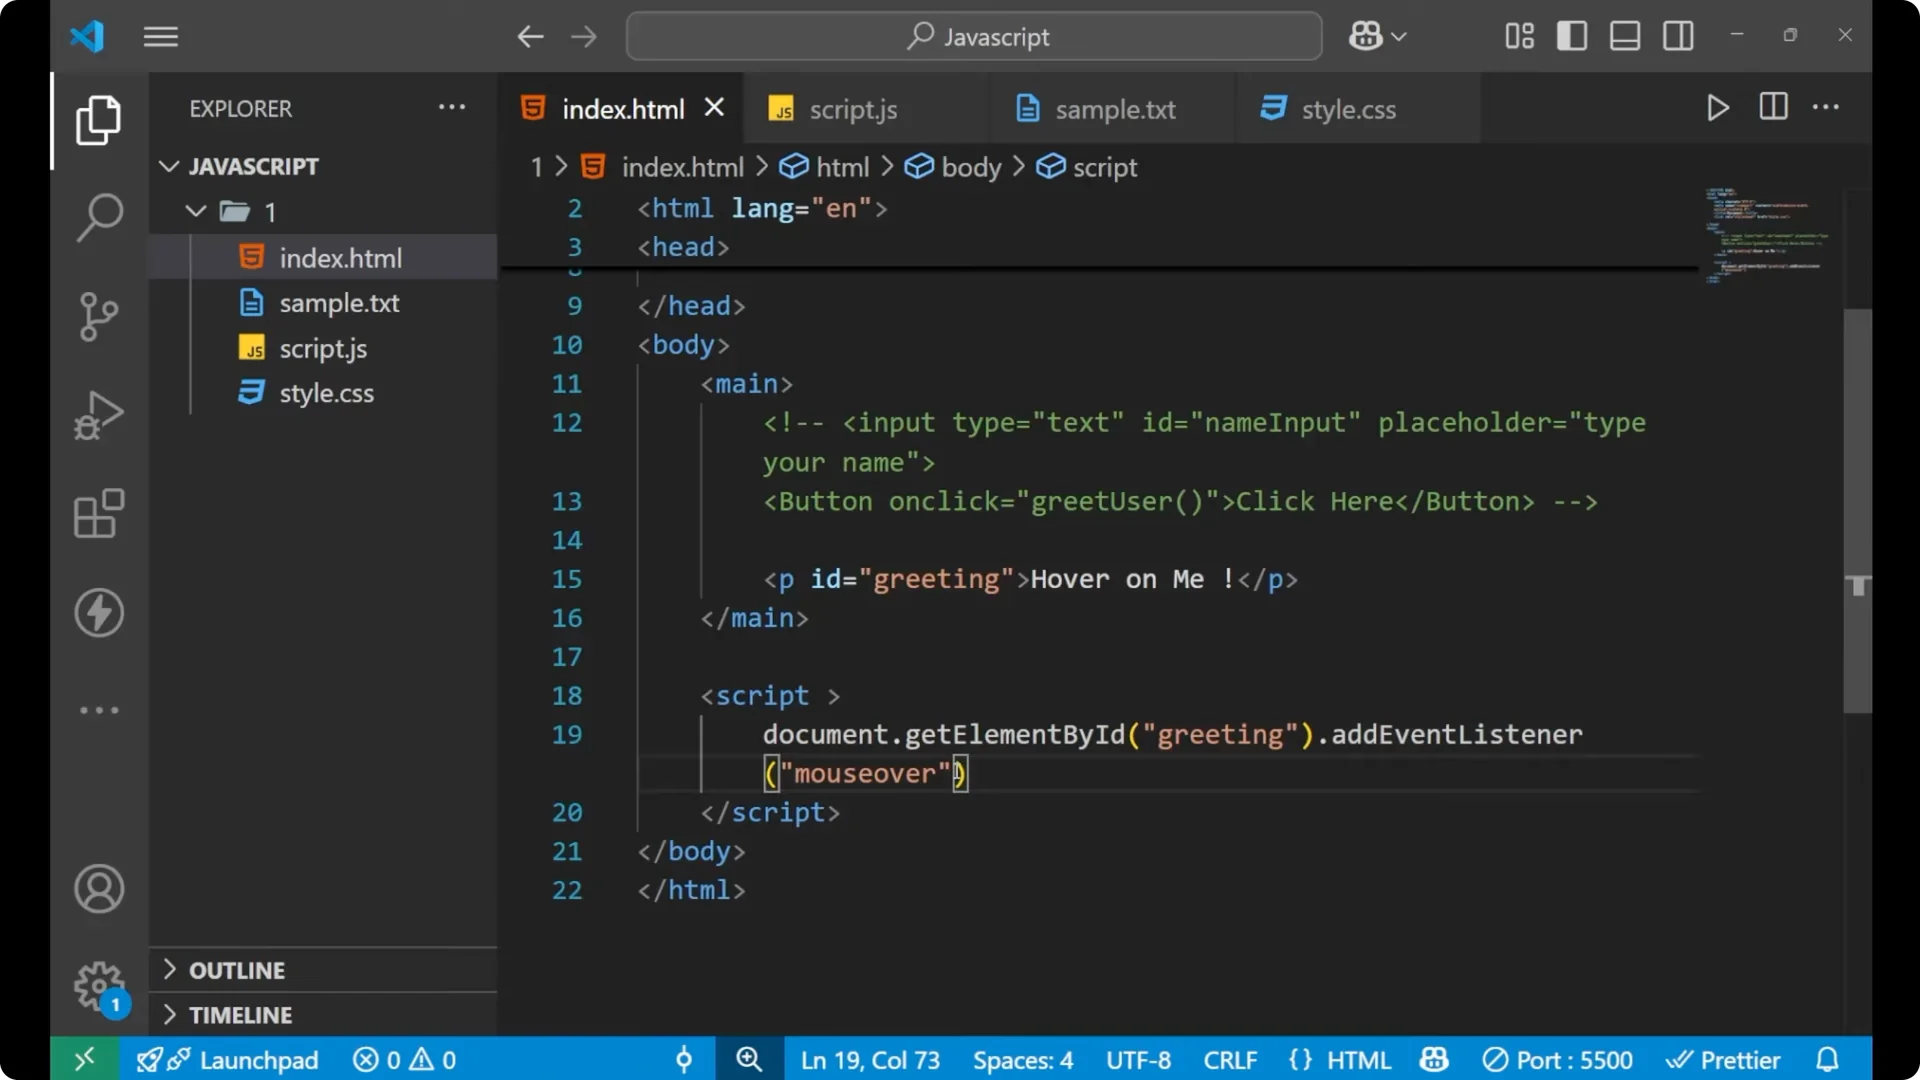
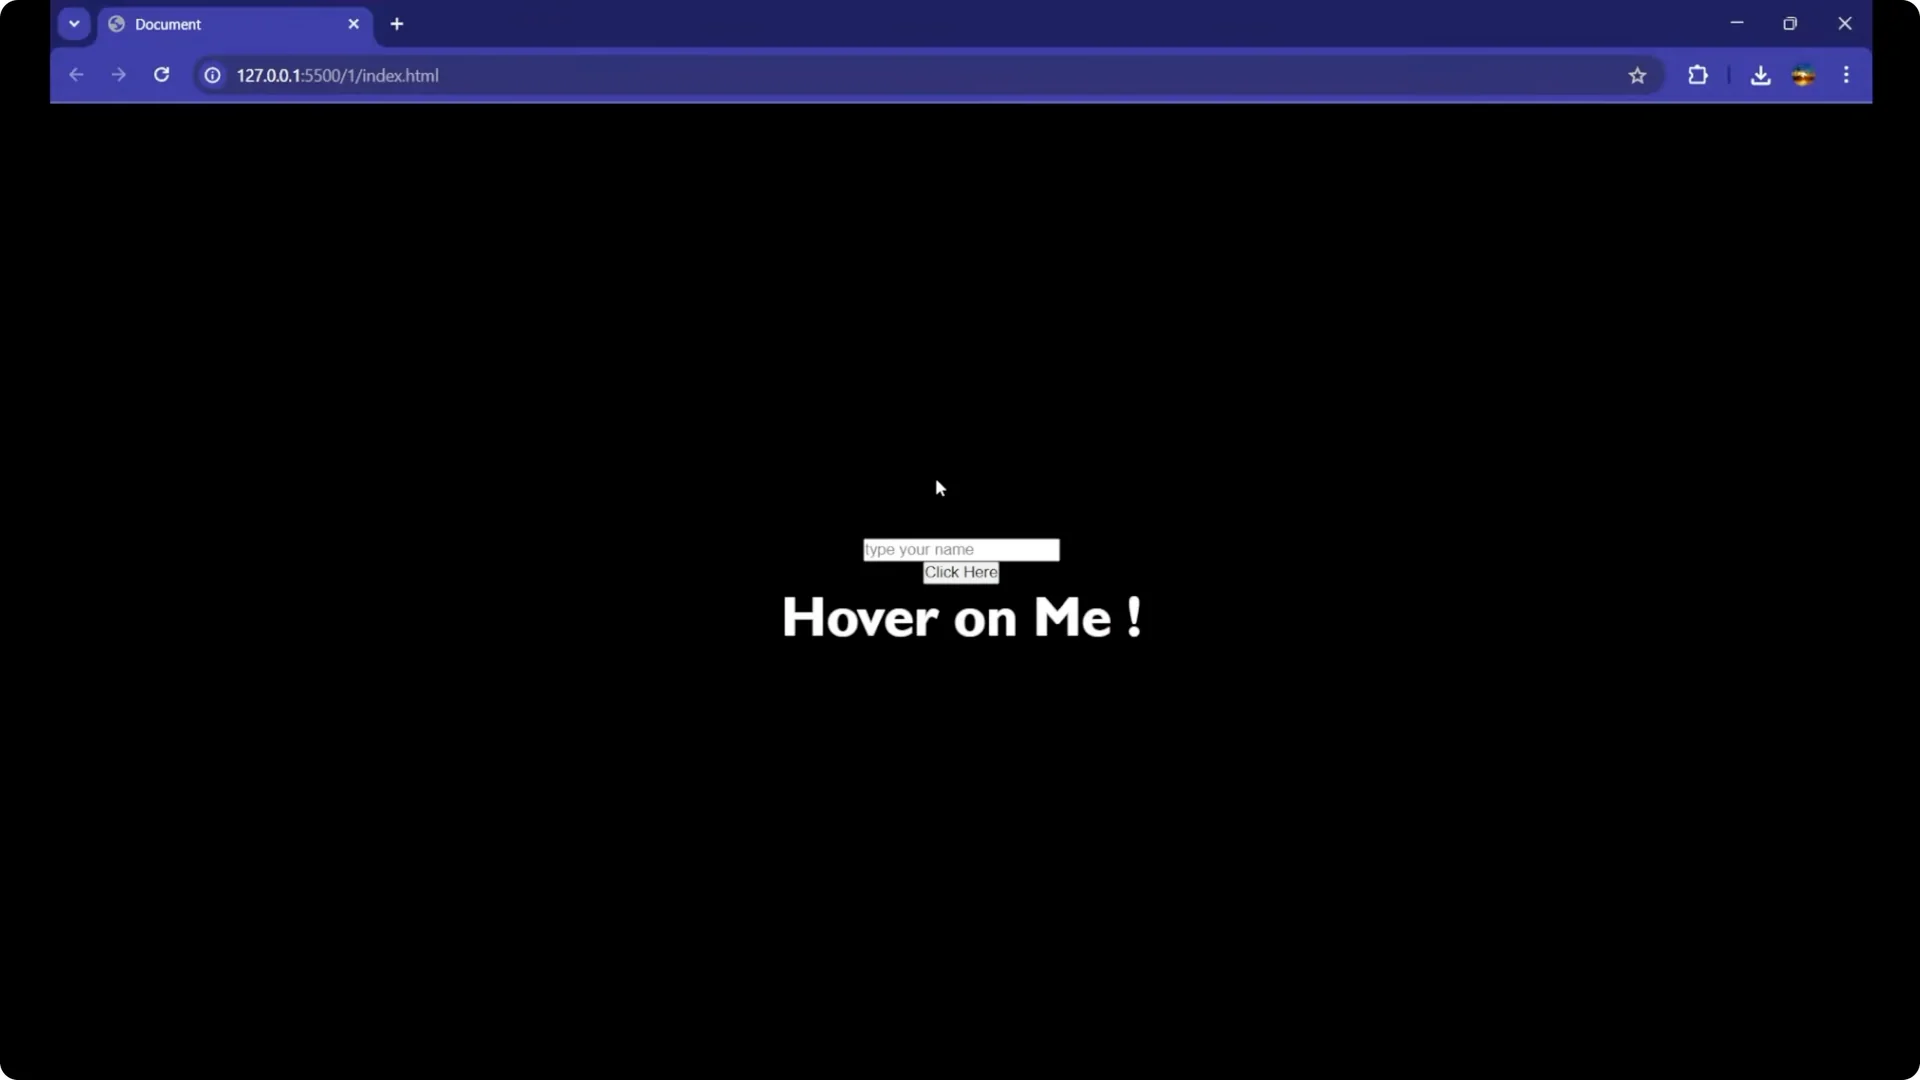
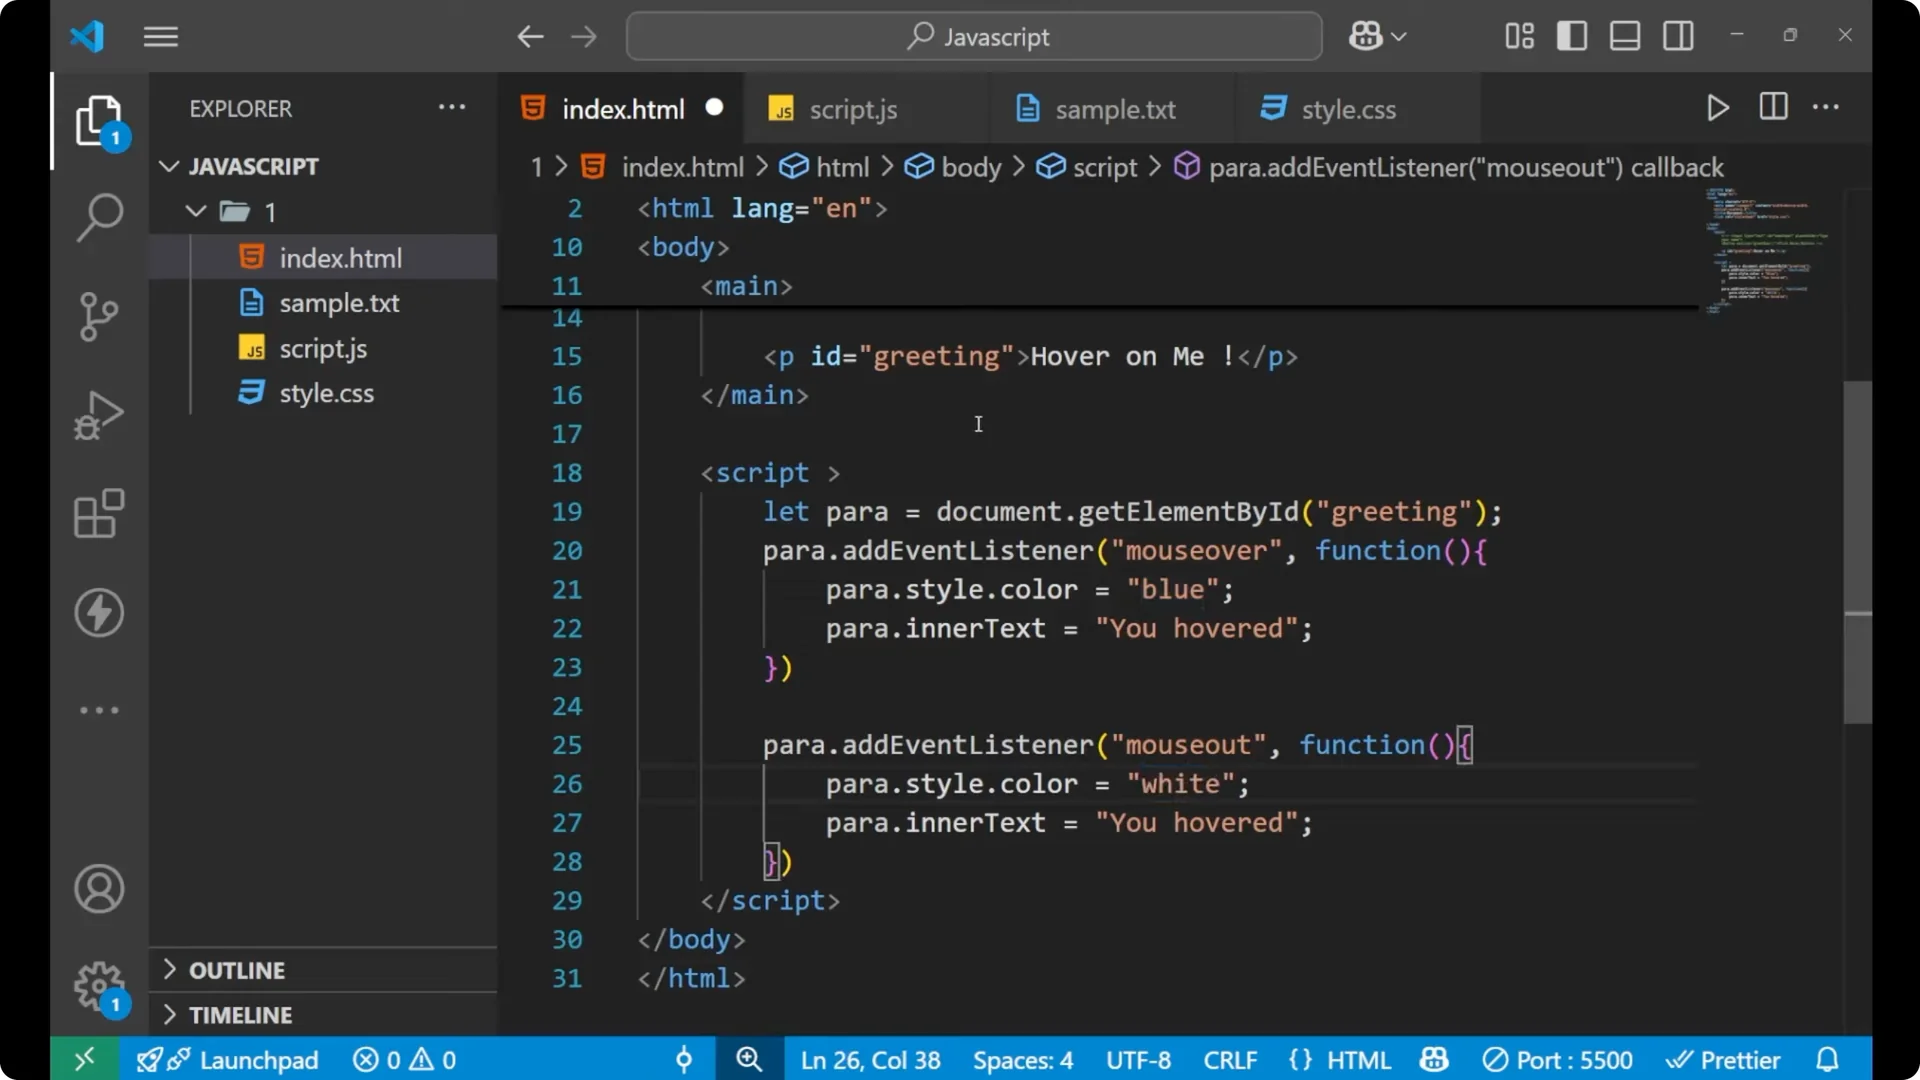
I will show a simple example using a paragraph. When the mouse goes over it, change the color and update the text. When the mouse leaves, revert both.

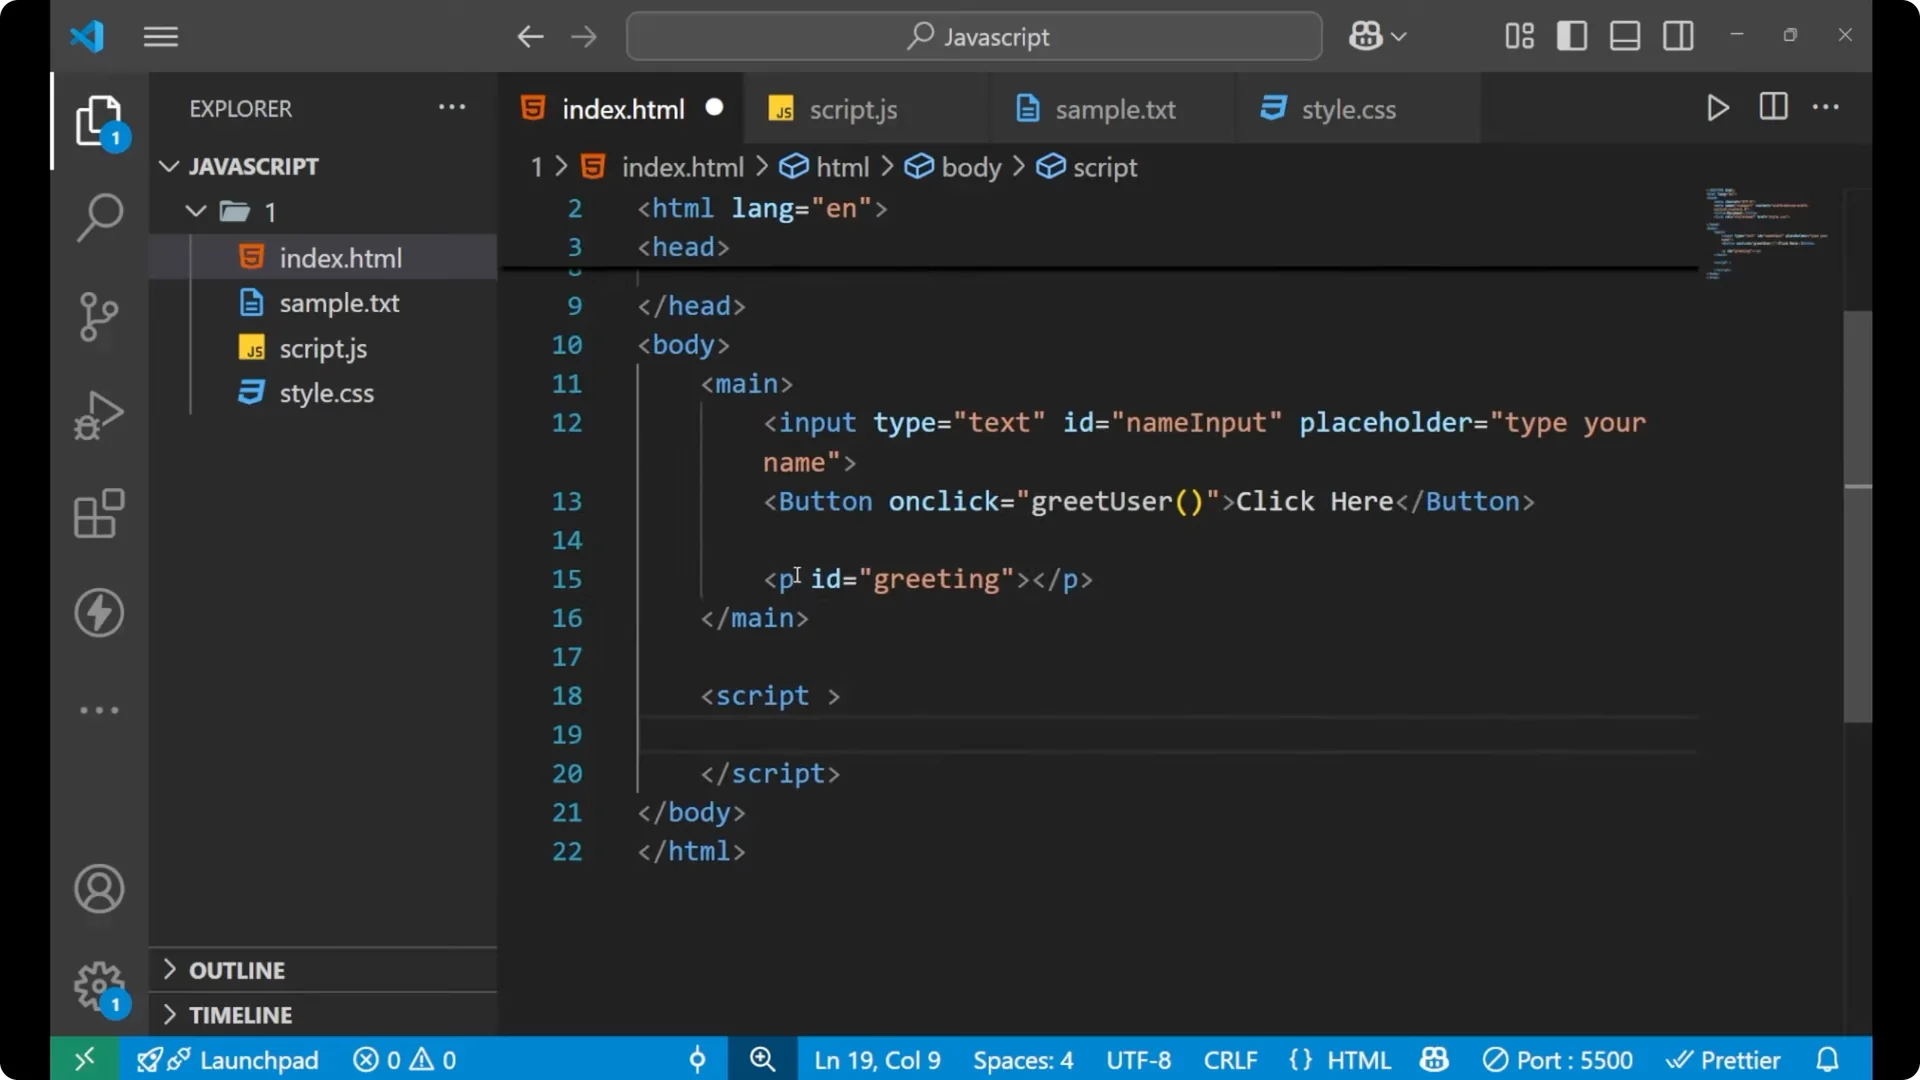
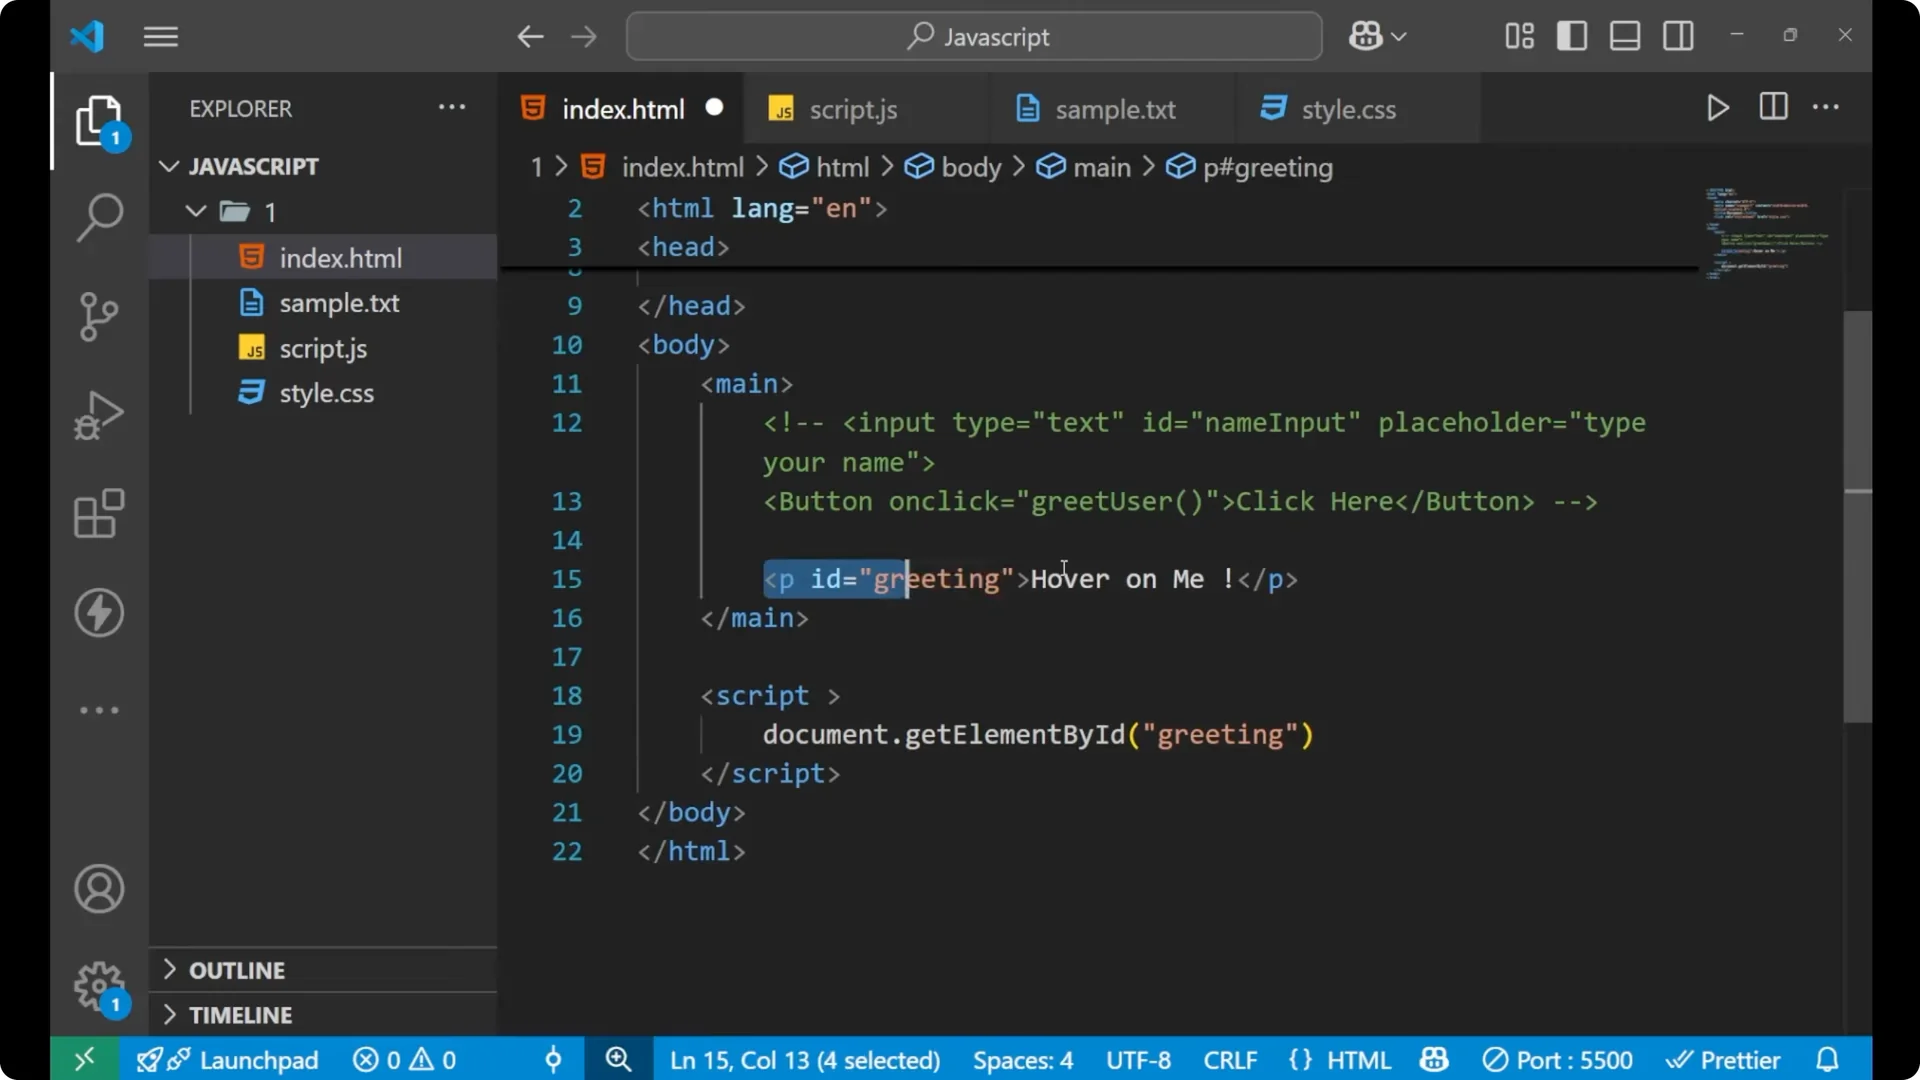
HTML
<p id="greeting">Hover on me</p>
Select the element
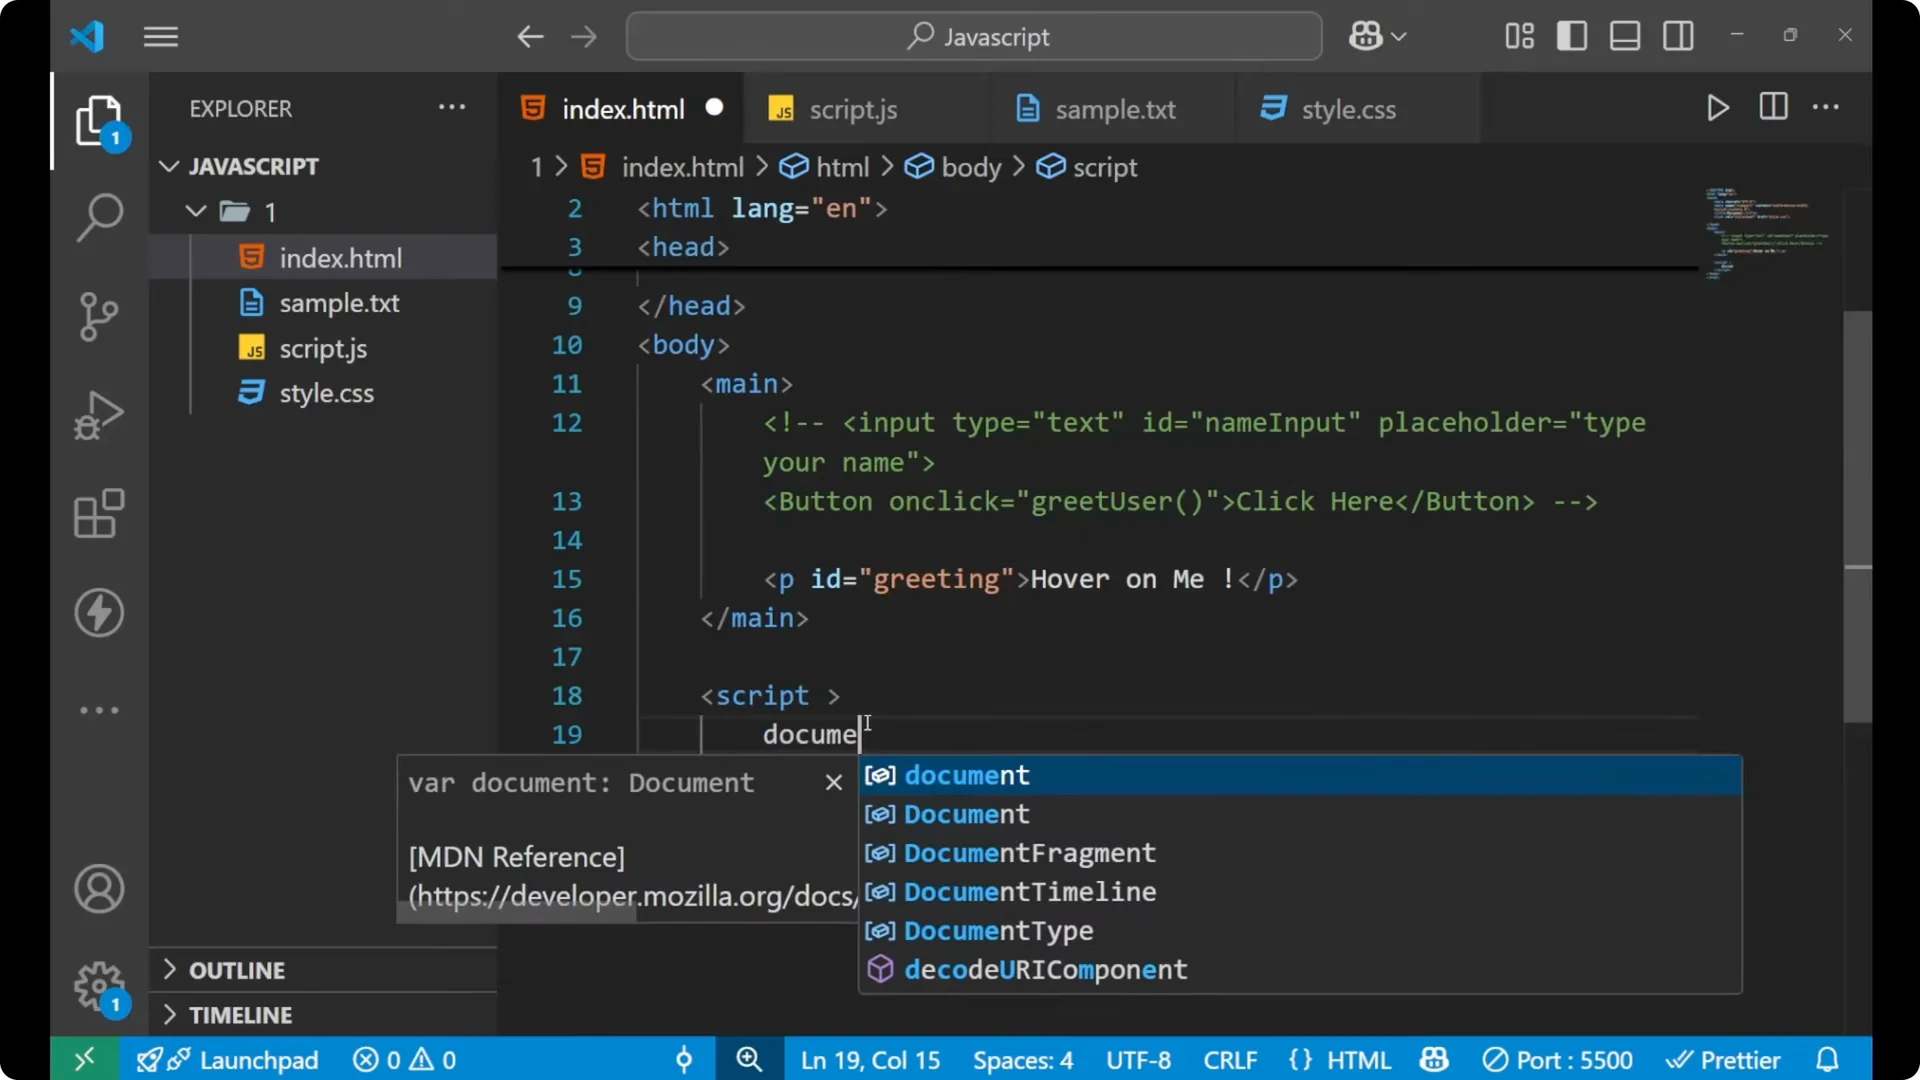
Select the paragraph by its id so you can attach listeners to it.
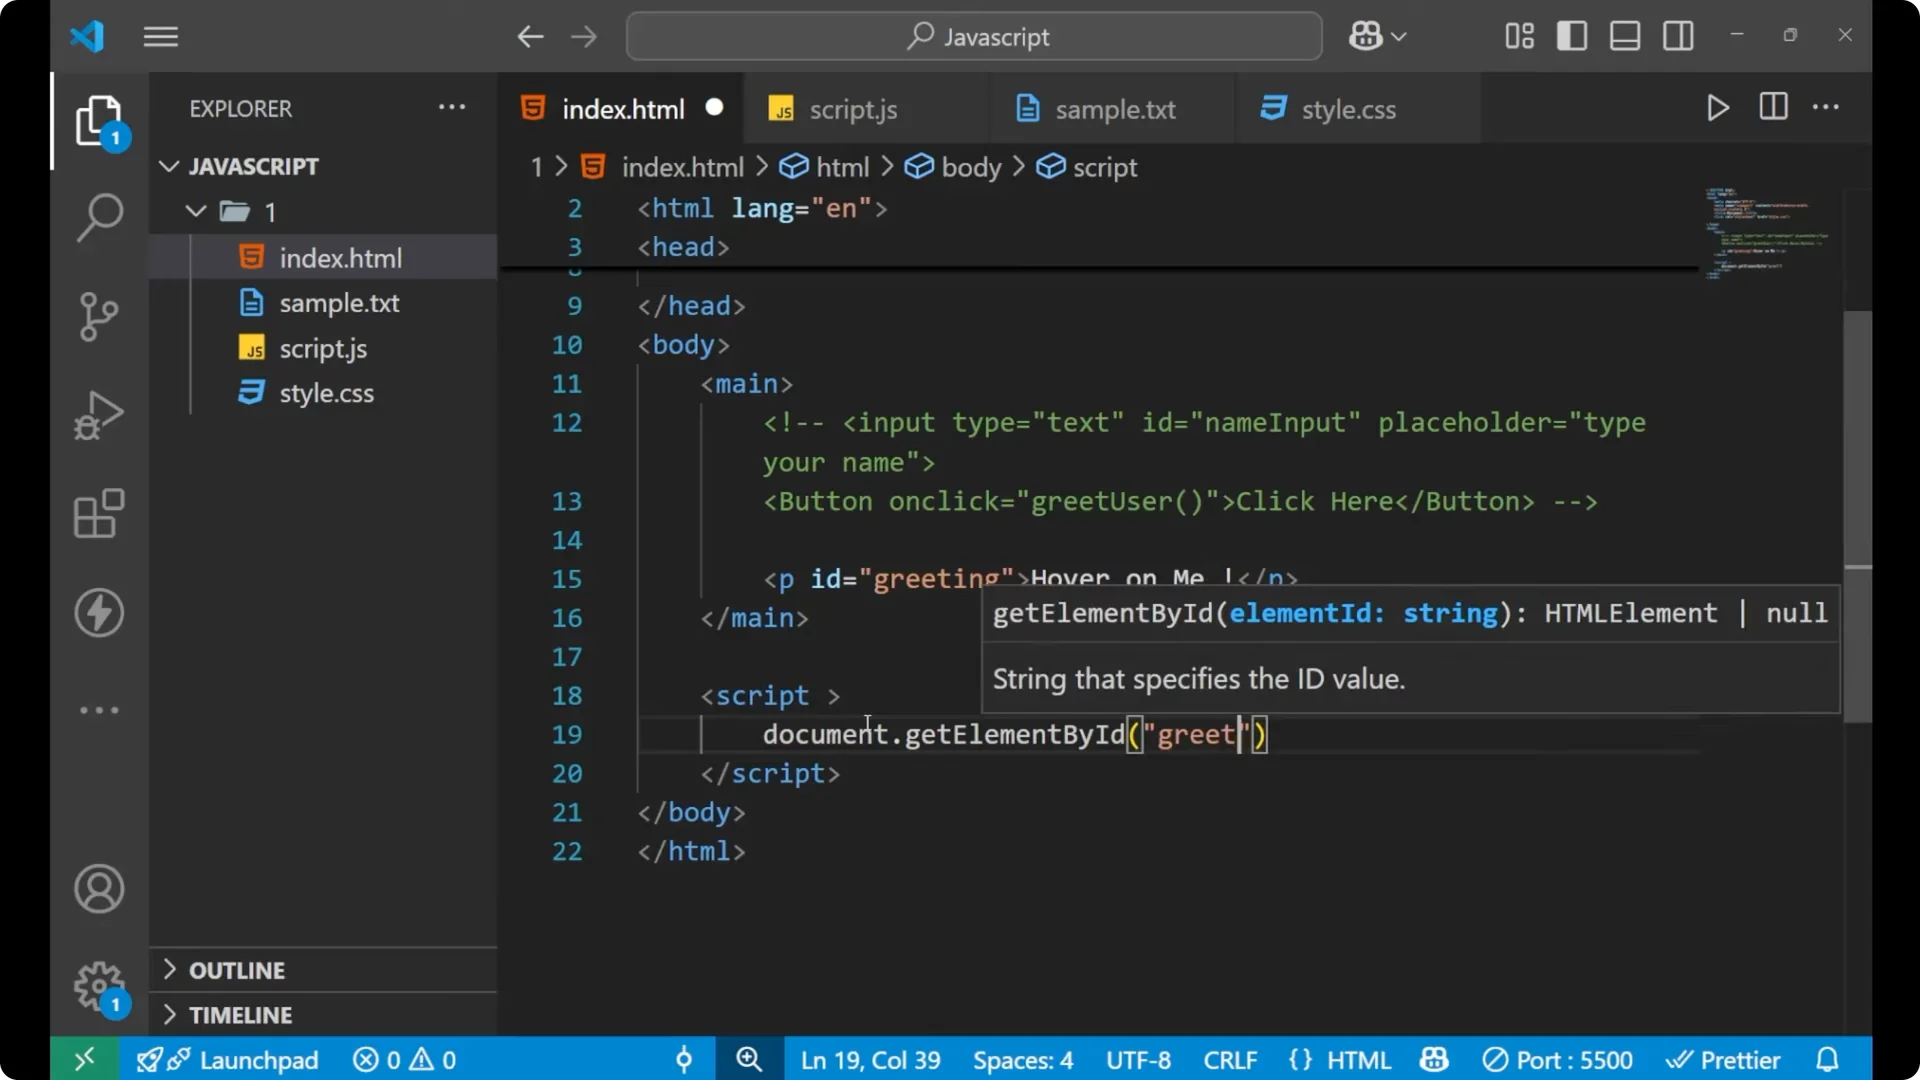
const para = document.getElementById('greeting');
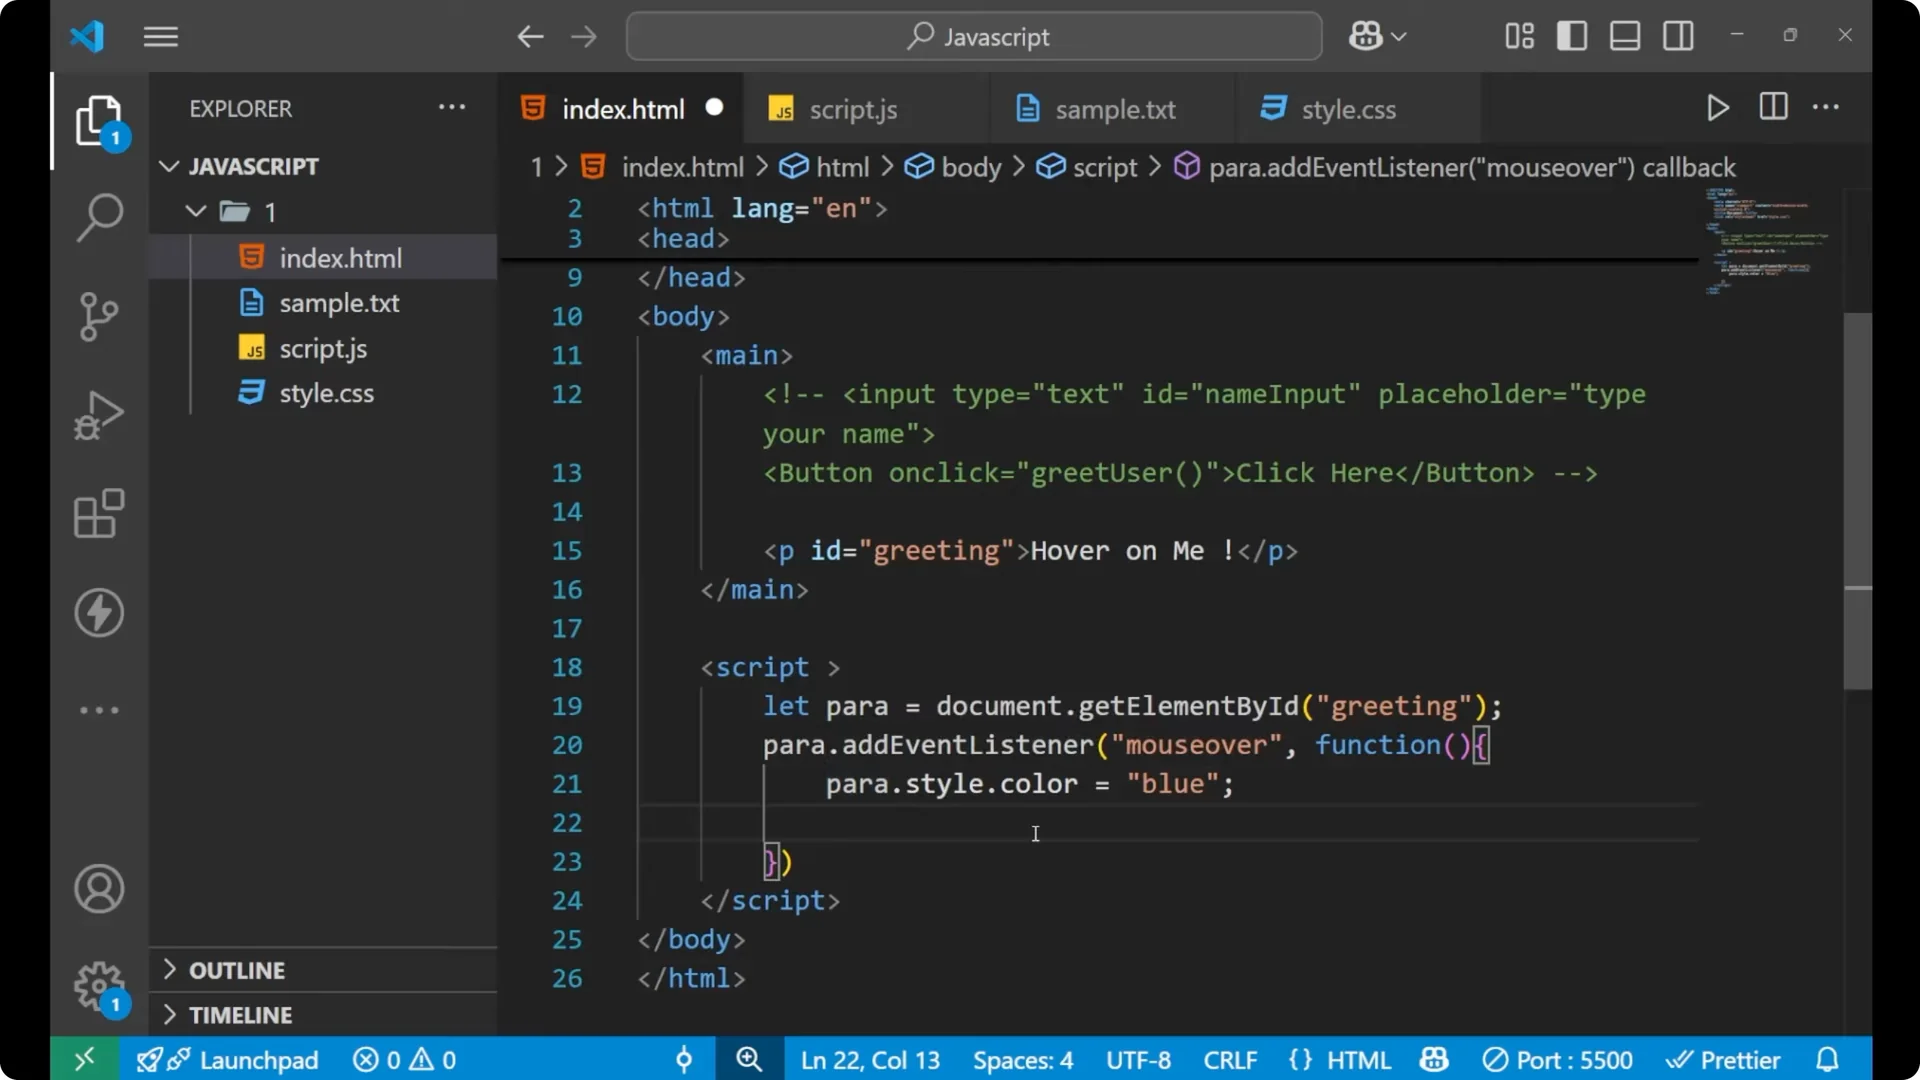
Handle mouseover
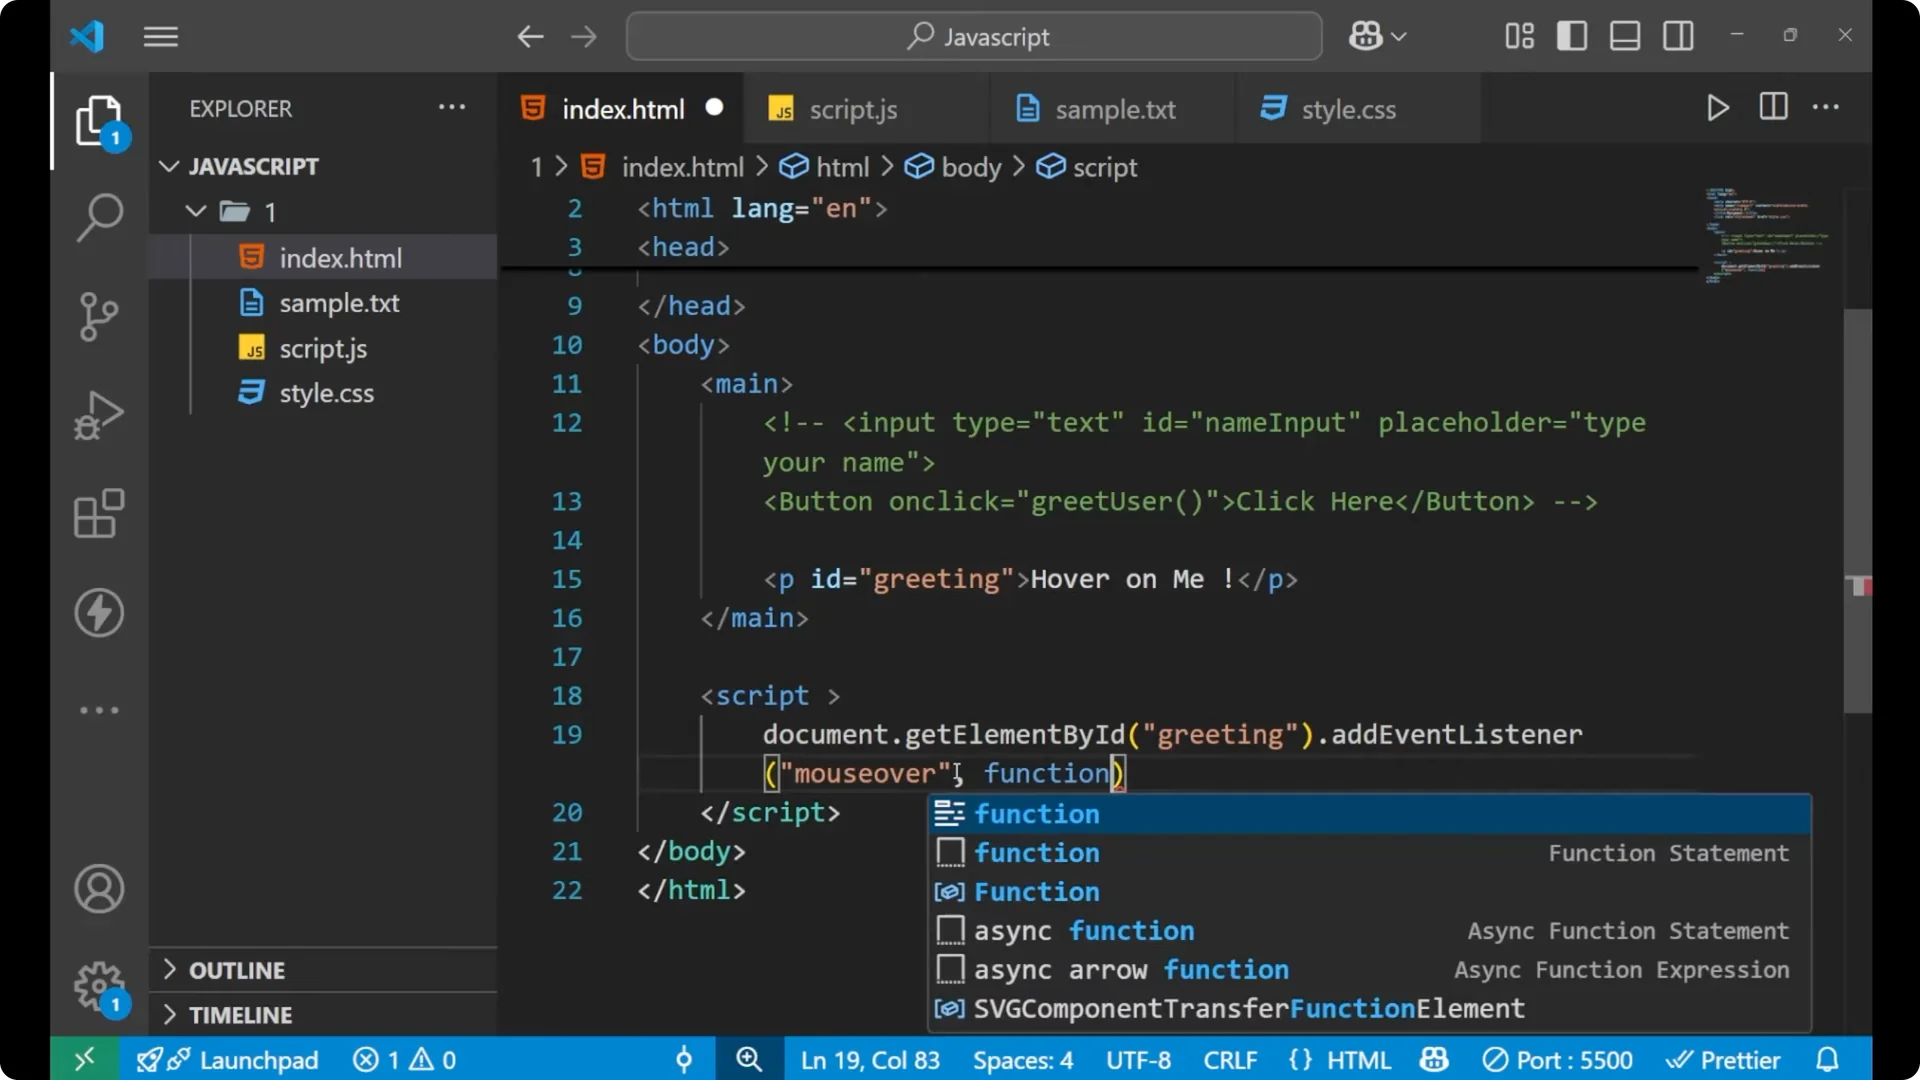
Attach a `mouseover` listener. Inside the function, change the text color and the content.
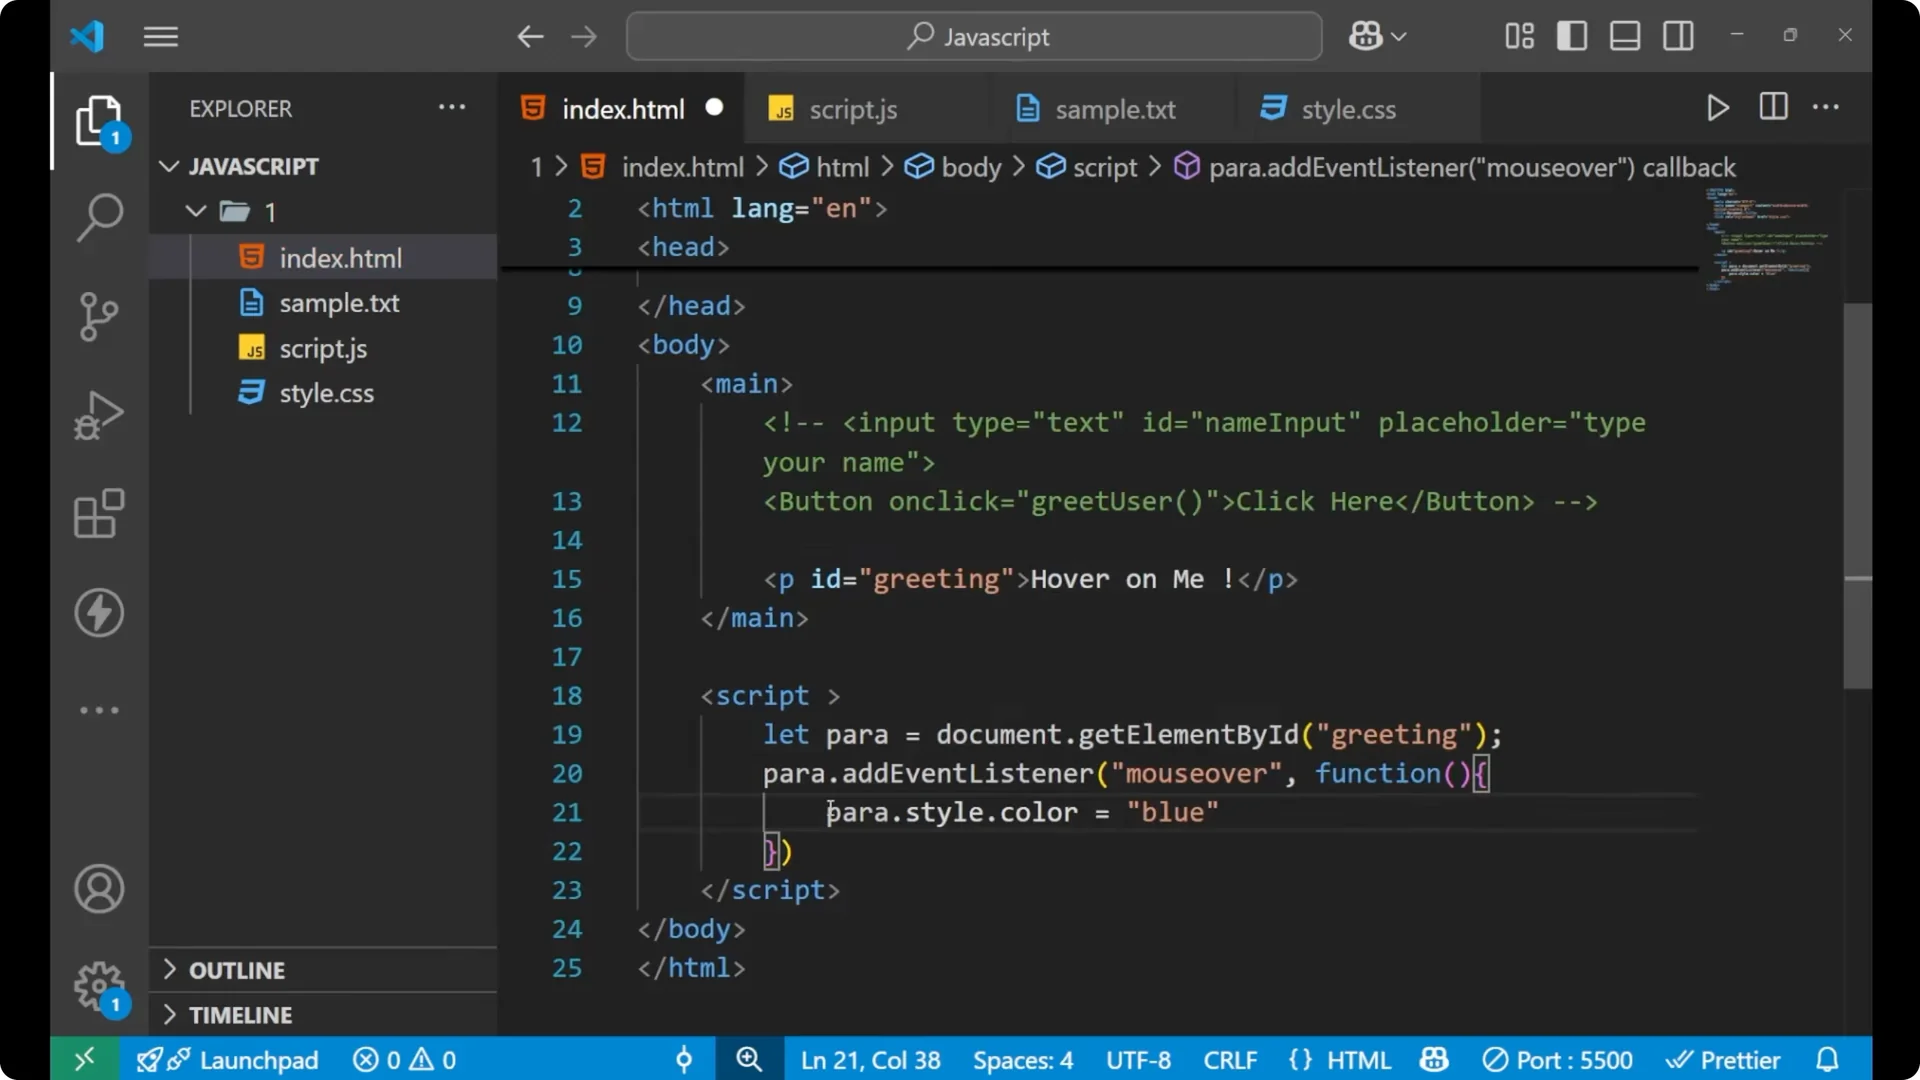
para.addEventListener('mouseover', function () {
  para.style.color = 'blue';
  para.innerText = 'You hovered';
});
Handle mouseout
Attach a `mouseout` listener to revert everything when the mouse leaves the element.
para.addEventListener('mouseout', function () {
  para.style.color = 'white';
  para.innerText = 'Hover on me';
});
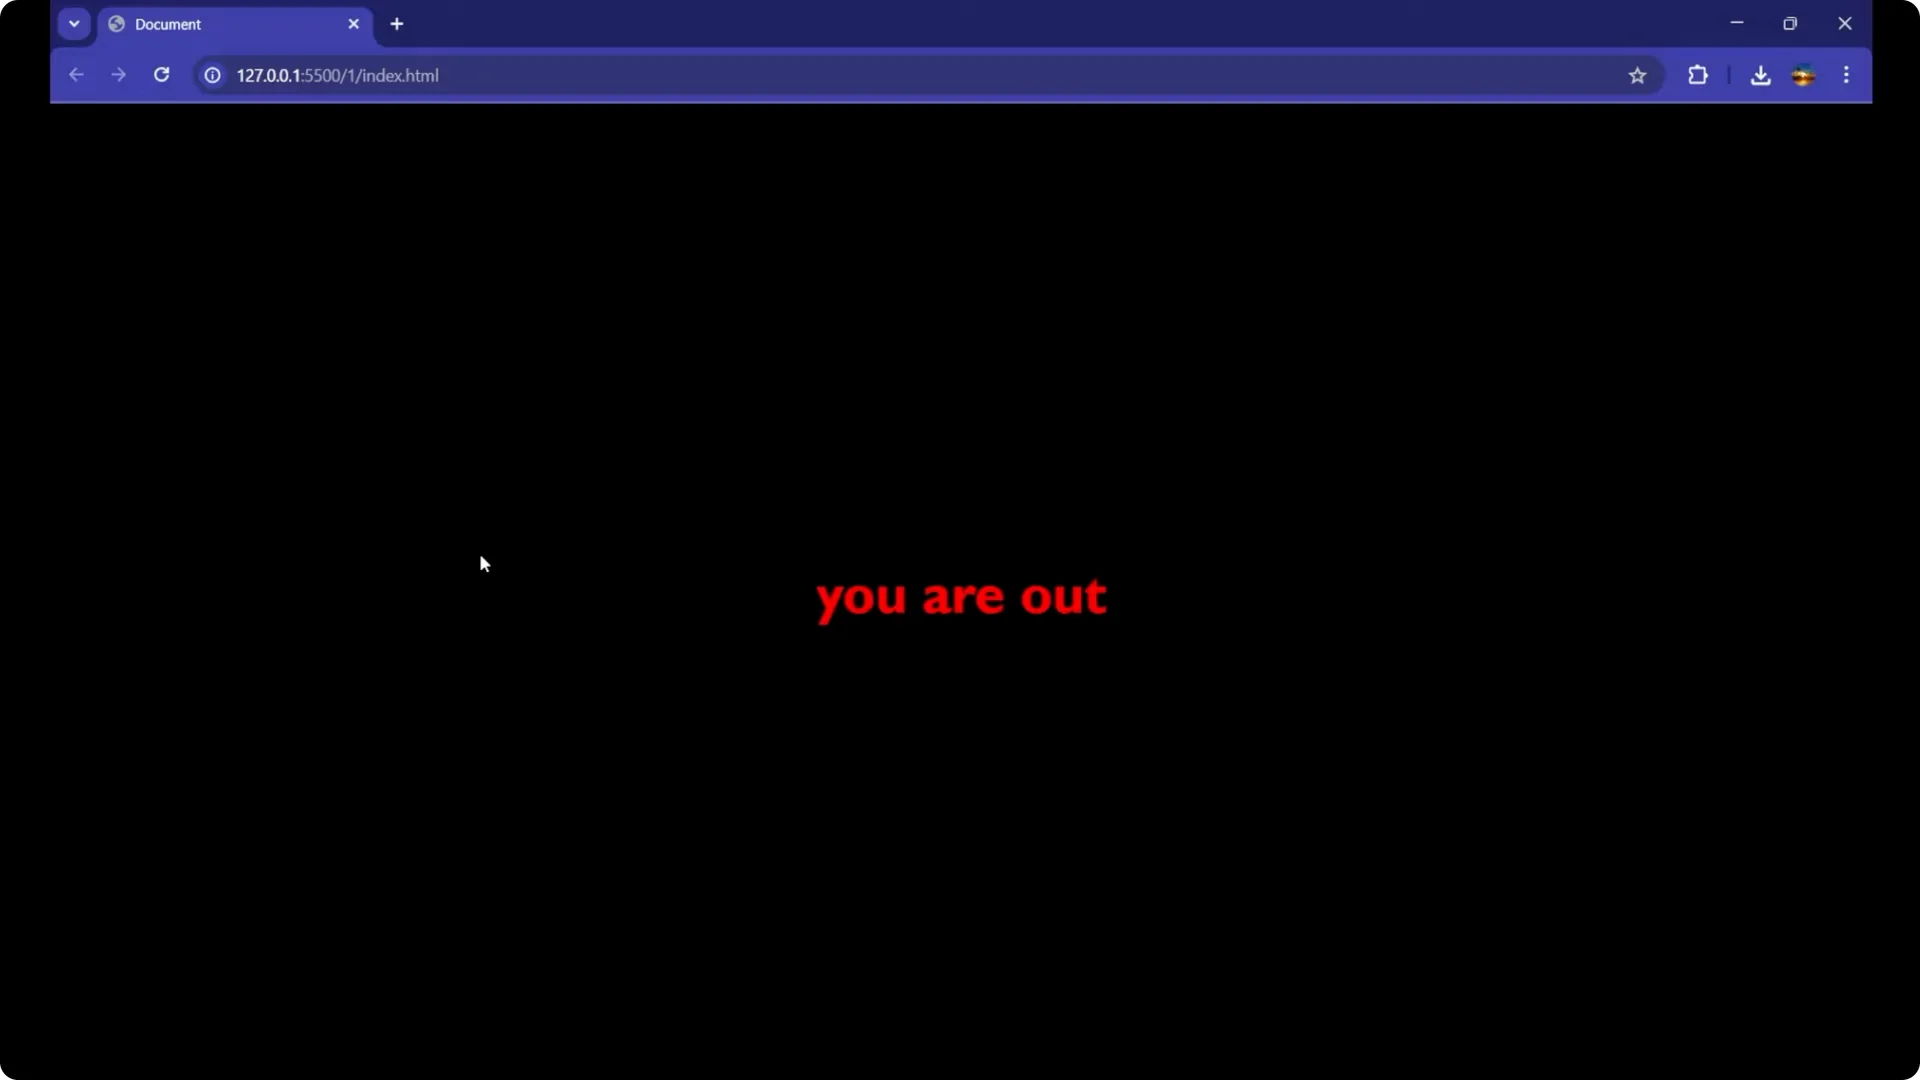
You can update any style you want and change the text to something else like `You are out`. This is how you handle events in JavaScript and update the DOM dynamically when a specific action occurs. If you want to remember the user’s last action across reloads, store a small flag or message in
local storage when the event fires and read it back on page load.
Final thoughts on JavaScript Event Handling
Events are triggered by user actions, and `addEventListener` lets you react to them with clear, targeted code. Know your event names, attach the right listener, and update the DOM or state inside the handler. Practice with different events like `keydown`, `change`, `submit`, and `dblclick` to build a solid foundation.