I am going to create an image slider in _JavaScript_. You might have seen an image slider on many websites in which clicking a button changes the image and shows the next image.
I am going to explain mainly the _JavaScript_ part and the logic behind it. I will also explain the _CSS_ and the _HTML_ part thoroughly.
JavaScript Image Slider: HTML Structure
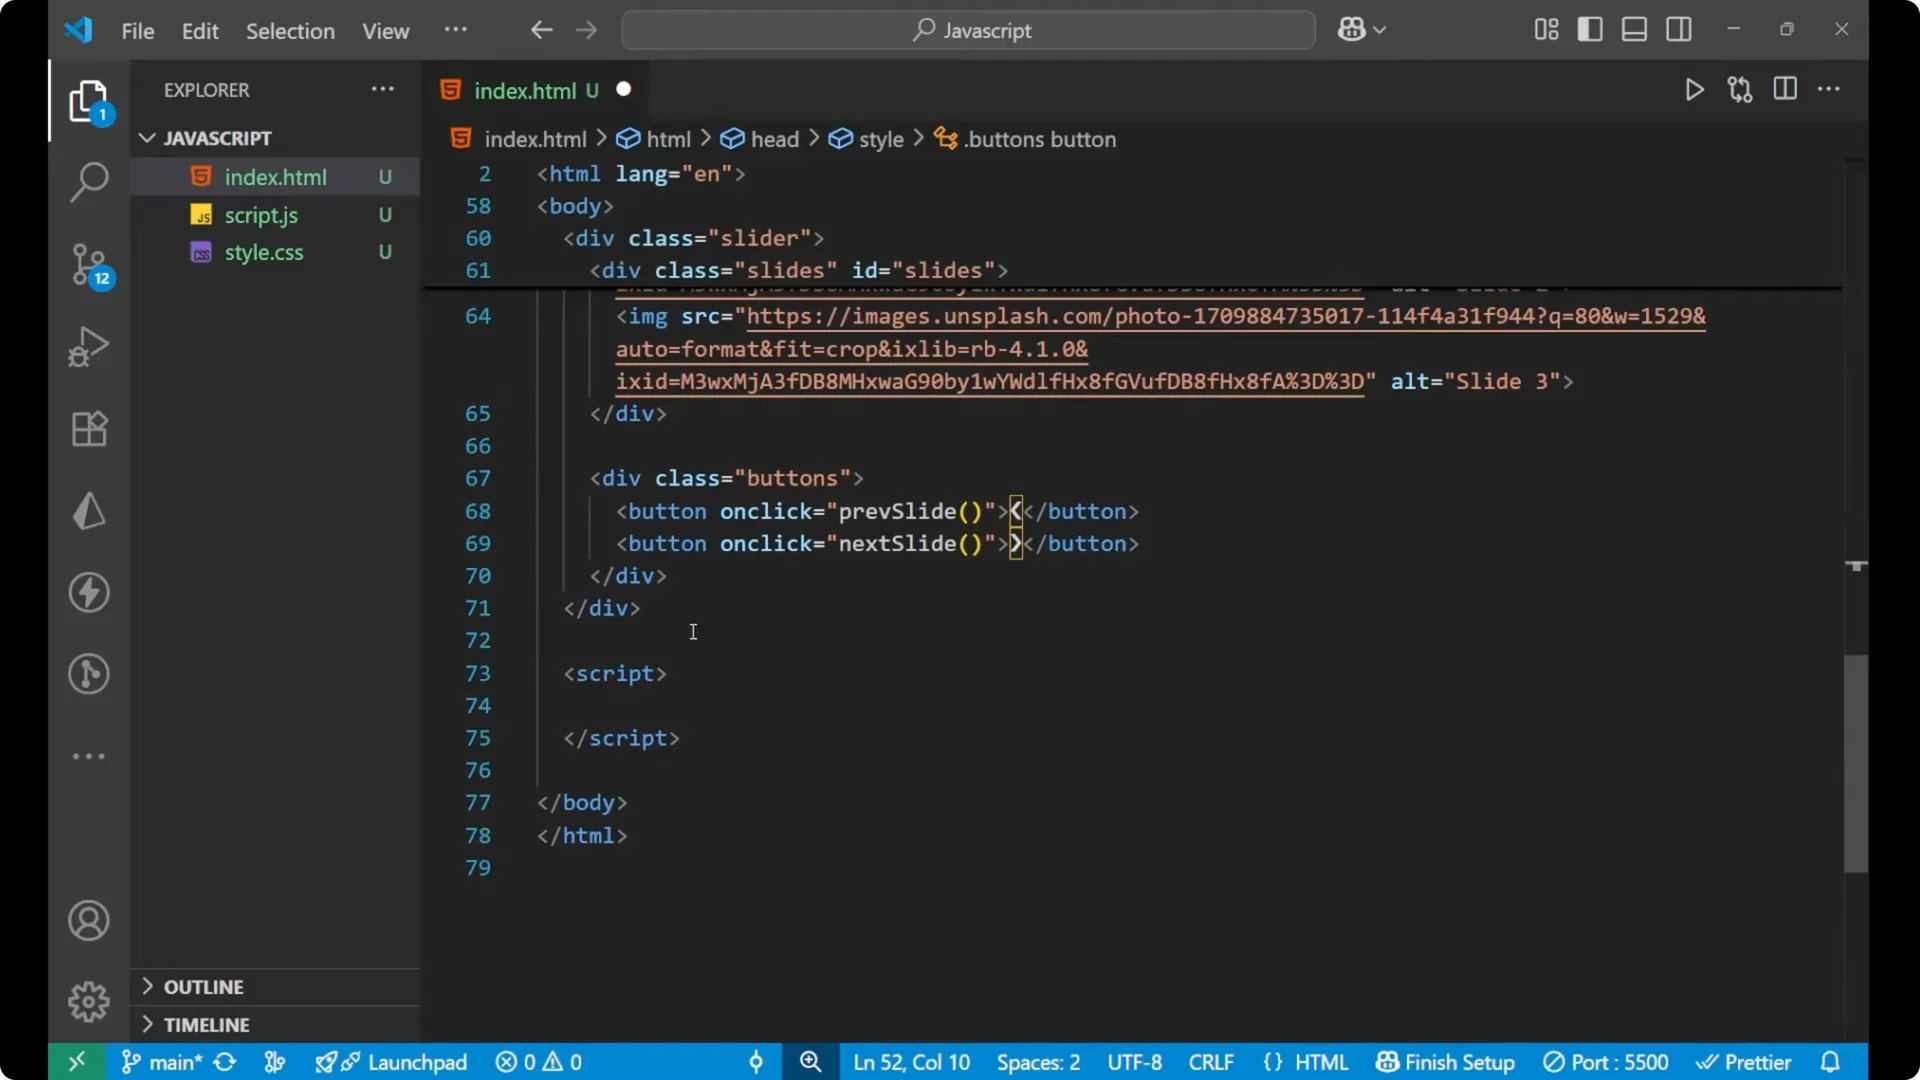
This is the HTML part of the code. At the top, the main div has the class `slider`. Inside it, I am having two different divs.
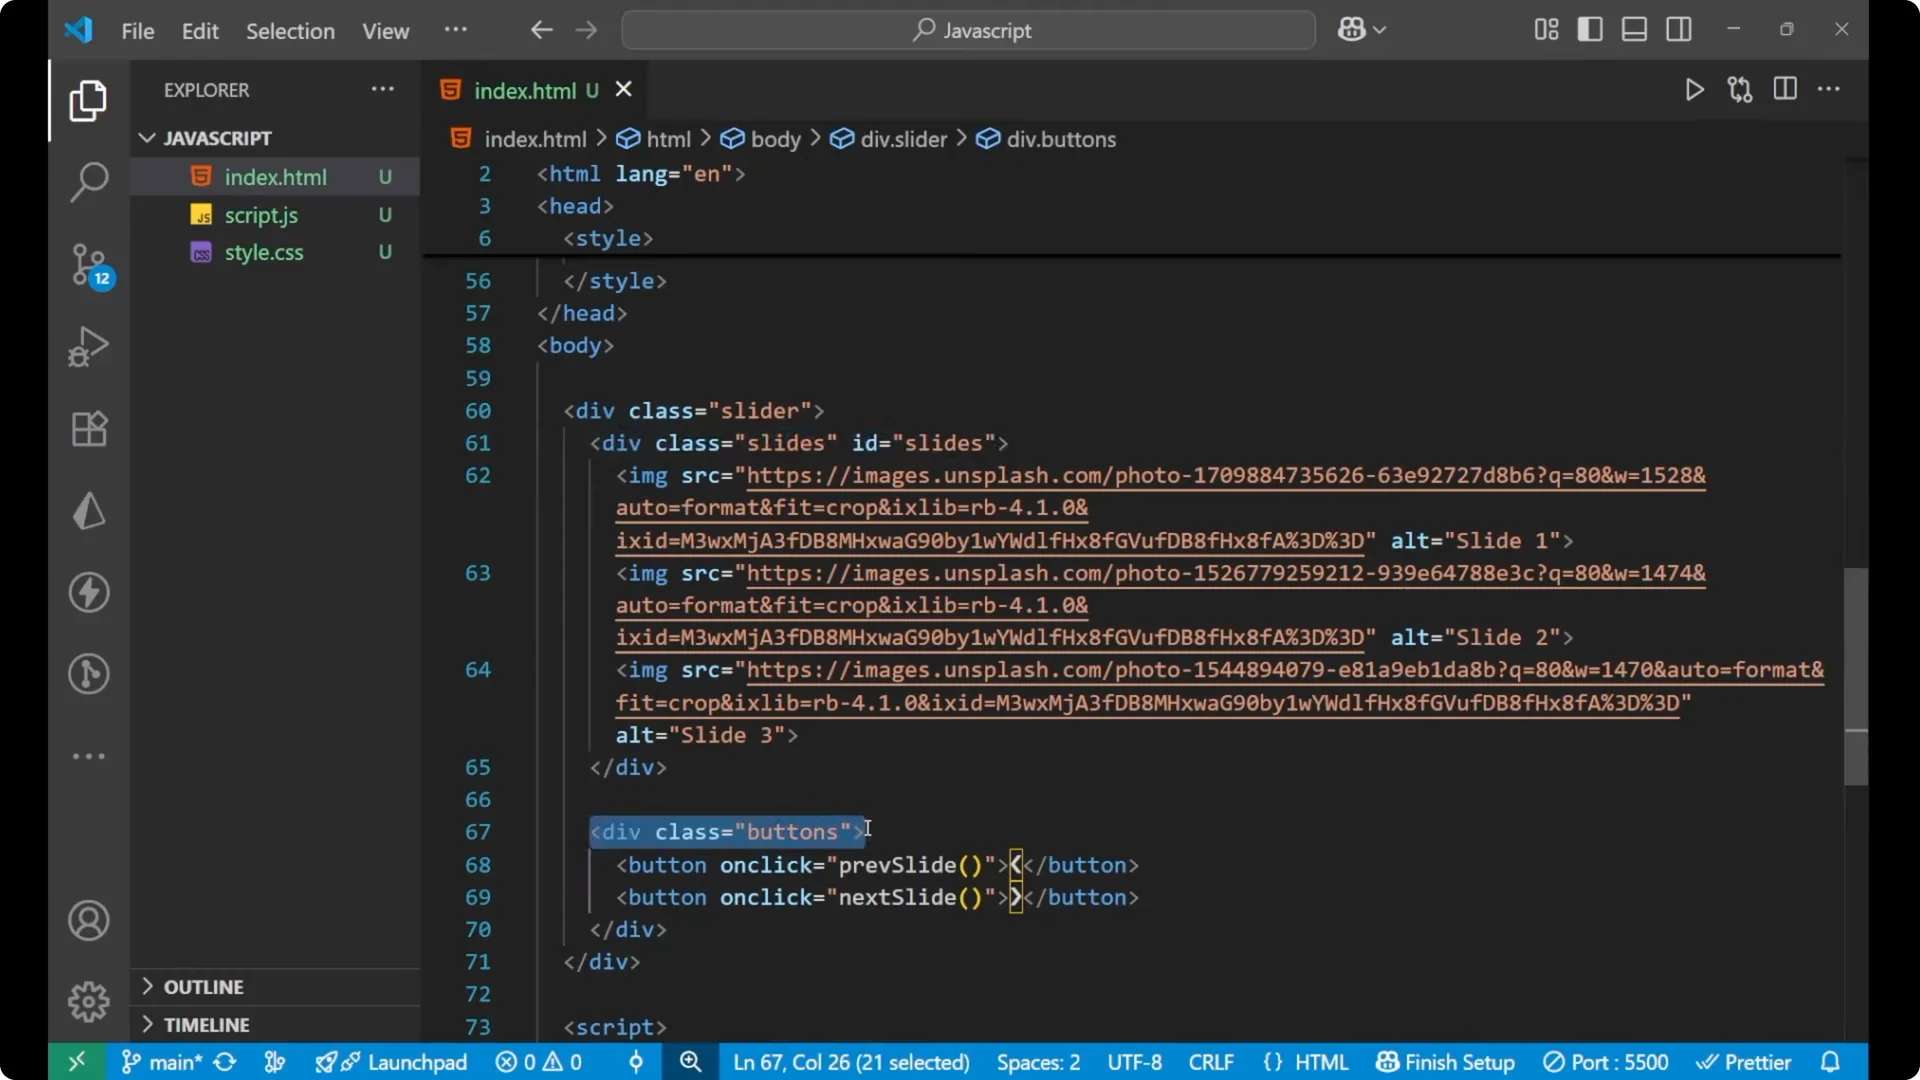
One div is for the slides and the other is for the buttons. Inside the buttons div, there are two buttons: one for the previous slide and one for the next slide.
Inside the slides div, I am having three different images.
I took the images from Unsplash. You can right click an image, copy the image address, and paste it into the `src` of any image you want.
<div class="slider">
<div id="slides" class="slides">
<img src="image1.jpg" alt="Slide 1" />
<img src="image2.jpg" alt="Slide 2" />
<img src="image3.jpg" alt="Slide 3" />
</div>
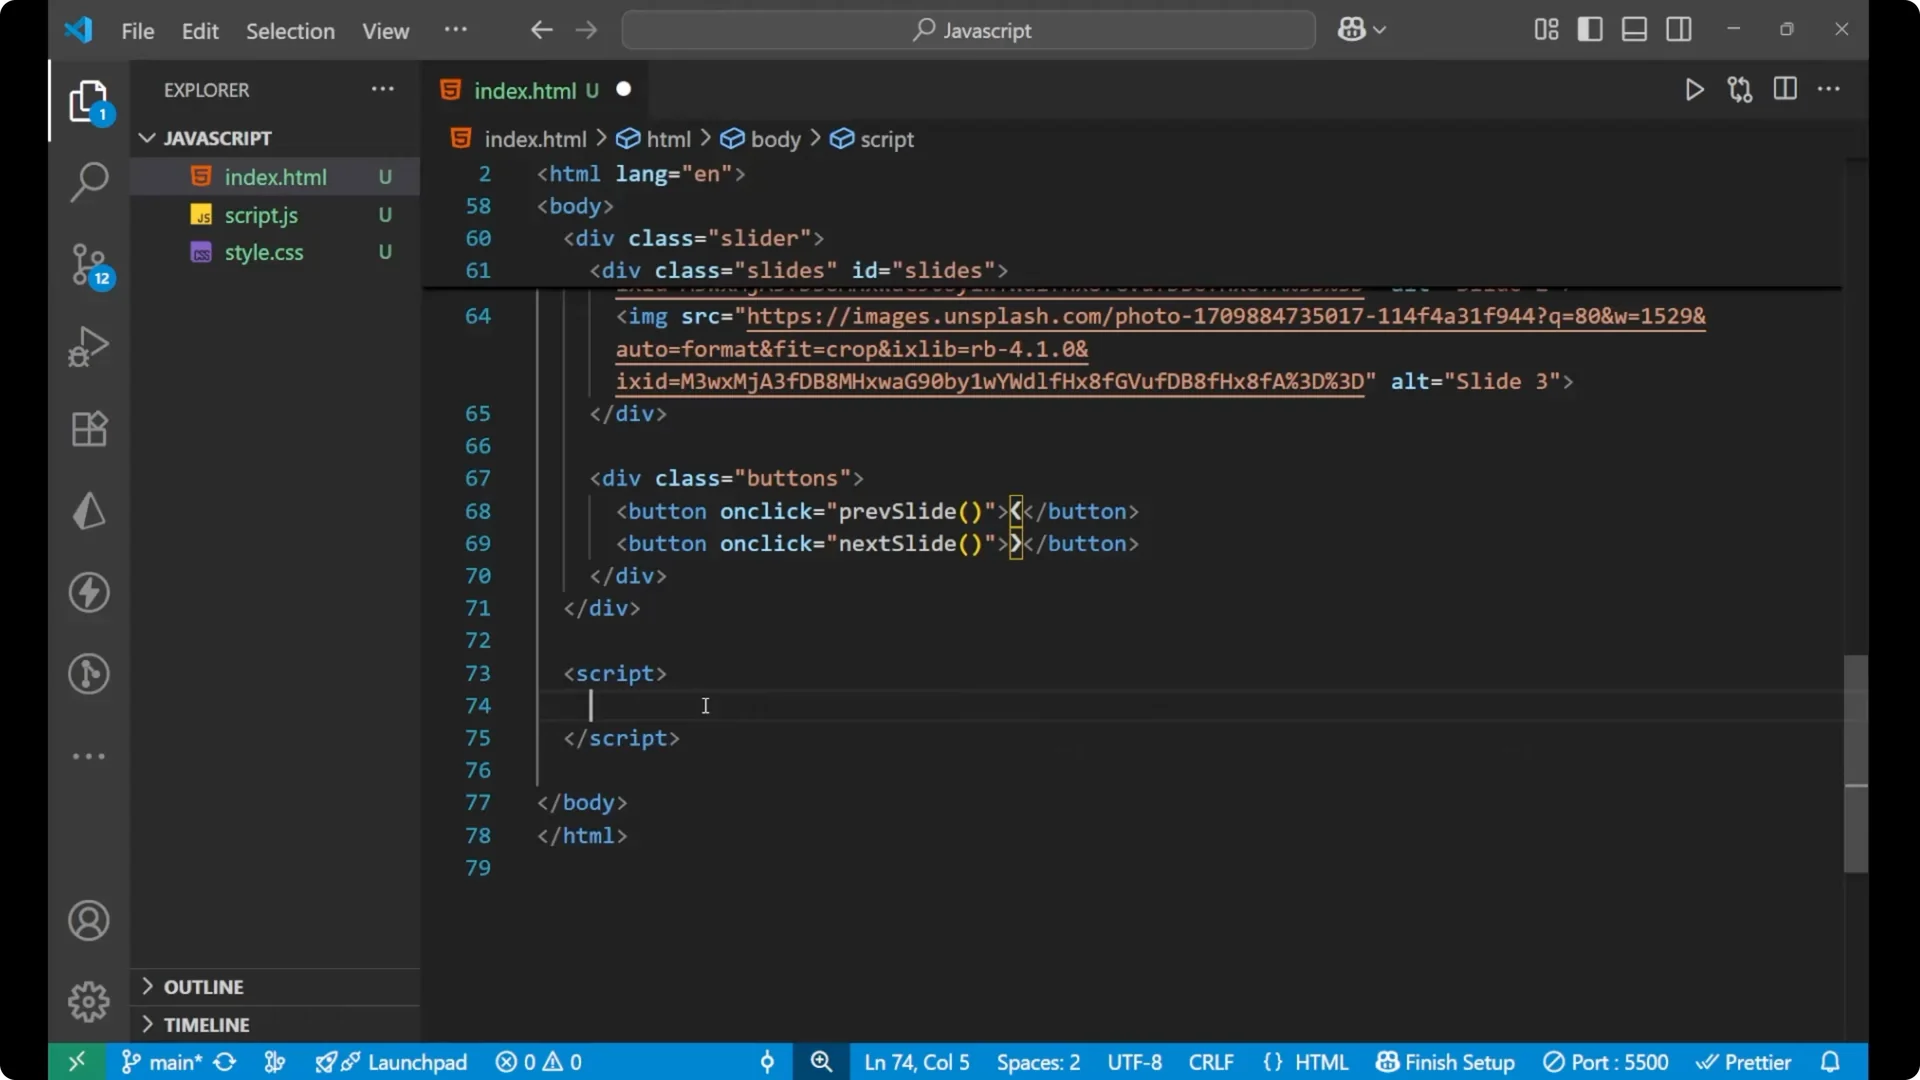
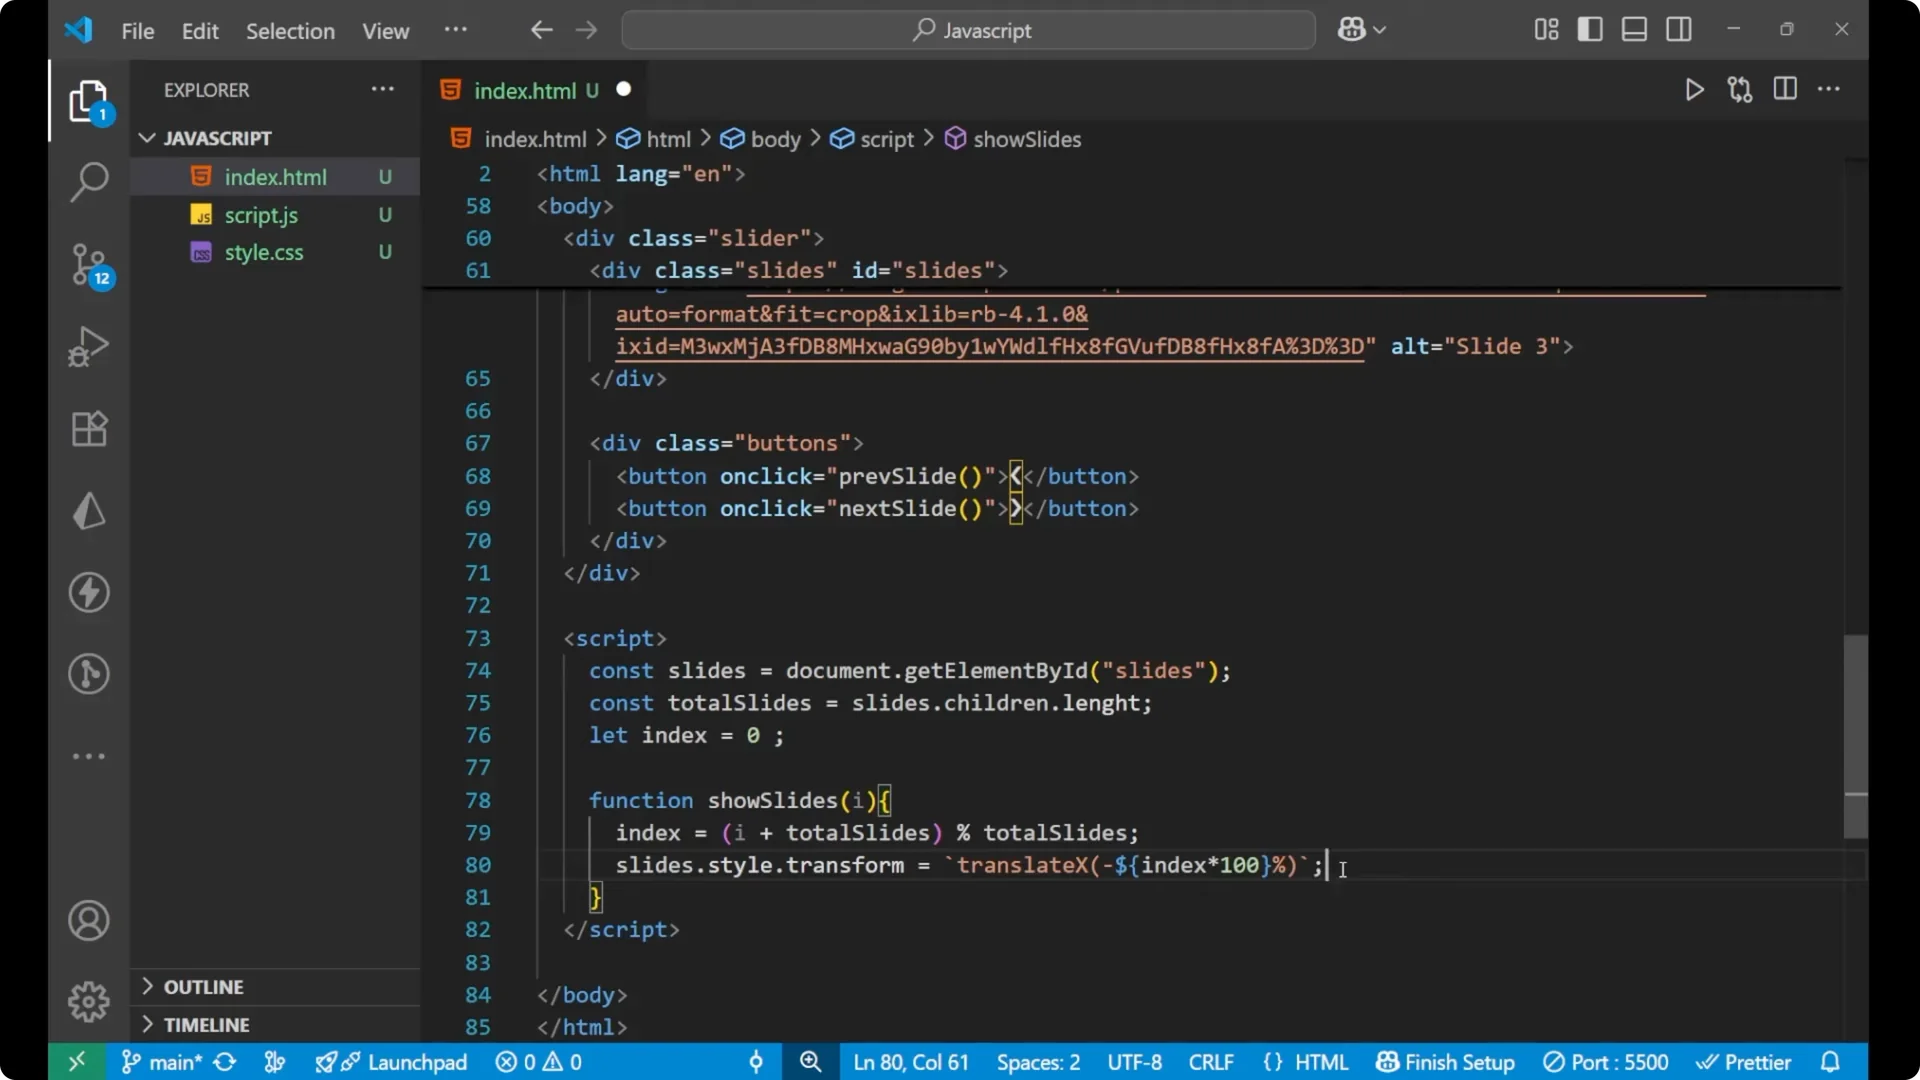
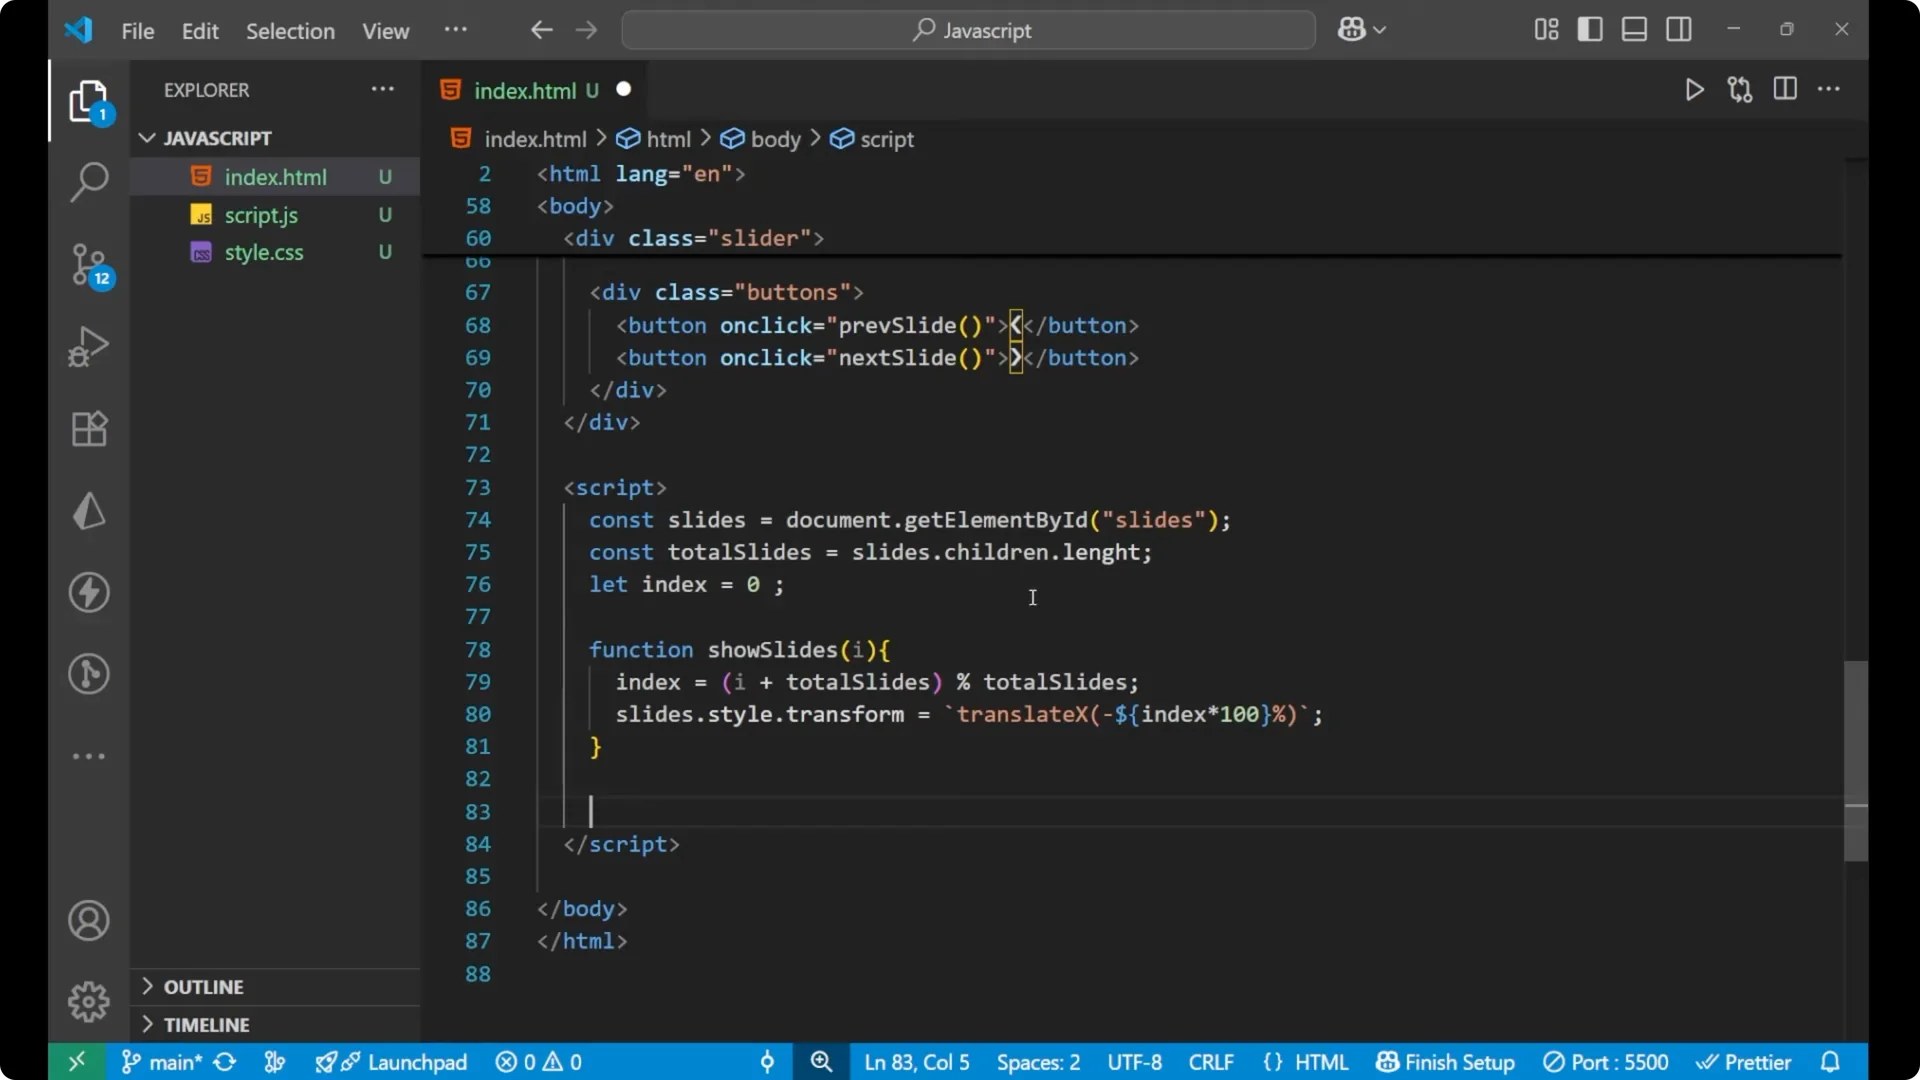
<div class="buttons">
<button onclick="previousSlide()">Previous</button>
<button onclick="nextSlide()">Next</button>
</div>
</div>
JavaScript Image Slider: CSS Styling
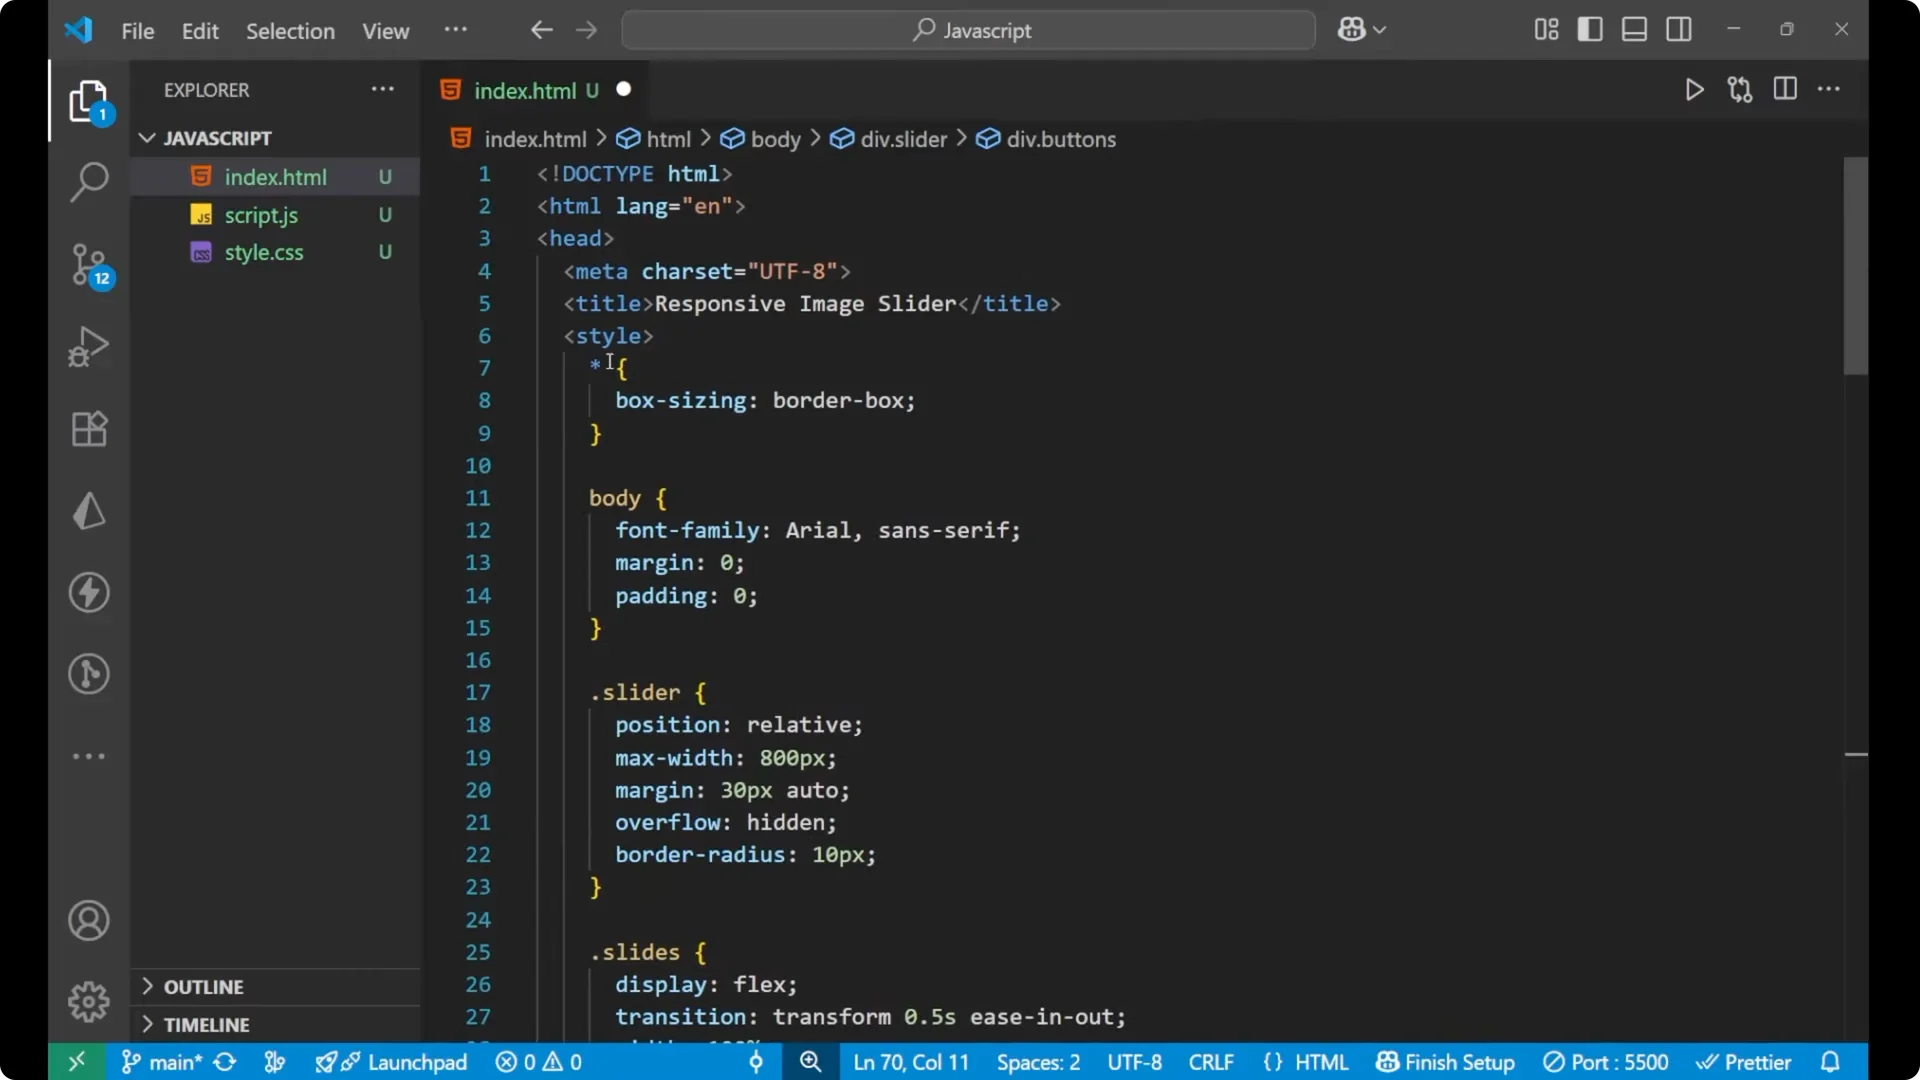
For the universal selector, I put the box sizing as border-box. For the body, I set the font family, margin, and padding.
The `slider` is the main div inside of which the images div and the buttons div are available. For the `slider`, I set `position: relative`, `max-width: 800px`, `margin` so it is centered, `overflow: hidden` so no content appears outside, and a `border-radius` too.
The `slides` div is the div inside which all the images are stored. The display is flex, there are some transition properties, and the width is given. Inside the slides I am also having `img` elements. For the image element I set the width as 100%, height as auto, and `flex-shrink: 0`.
For the buttons, it is important to work on their positioning. The position is absolute because it floats on the main slider div.
The top is 50%, the width is 100%, display is flex, `justify-content: space-between`, and I translate it by -50% on the Y axis to center it vertically. For the button styling, I set the background color, the text color, border, padding, font size, and cursor.
* {
  box-sizing: border-box;
}

body {
  font-family: system-ui, -apple-system, Segoe UI, Roboto, Arial, sans-serif;
  margin: 0;
  padding: 0;
}

.slider {
  position: relative;
  max-width: 800px;
  margin: 40px auto;
  overflow: hidden;
  border-radius: 12px;
}

.slides {
  display: flex;
  transition: transform 0.4s ease-in-out;
  width: 100%;
}

.slides img {
  width: 100%;
  height: auto;
  flex-shrink: 0;
}

.buttons {
  position: absolute;
  top: 50%;
  width: 100%;
  display: flex;
  justify-content: space-between;
  transform: translateY(-50%);
  padding: 0 12px;
}

.buttons button {
  background: #111;
  color: #fff;
  border: none;
  padding: 8px 14px;
  font-size: 16px;
  cursor: pointer;
}
JavaScript Image Slider: Core JavaScript and Logic
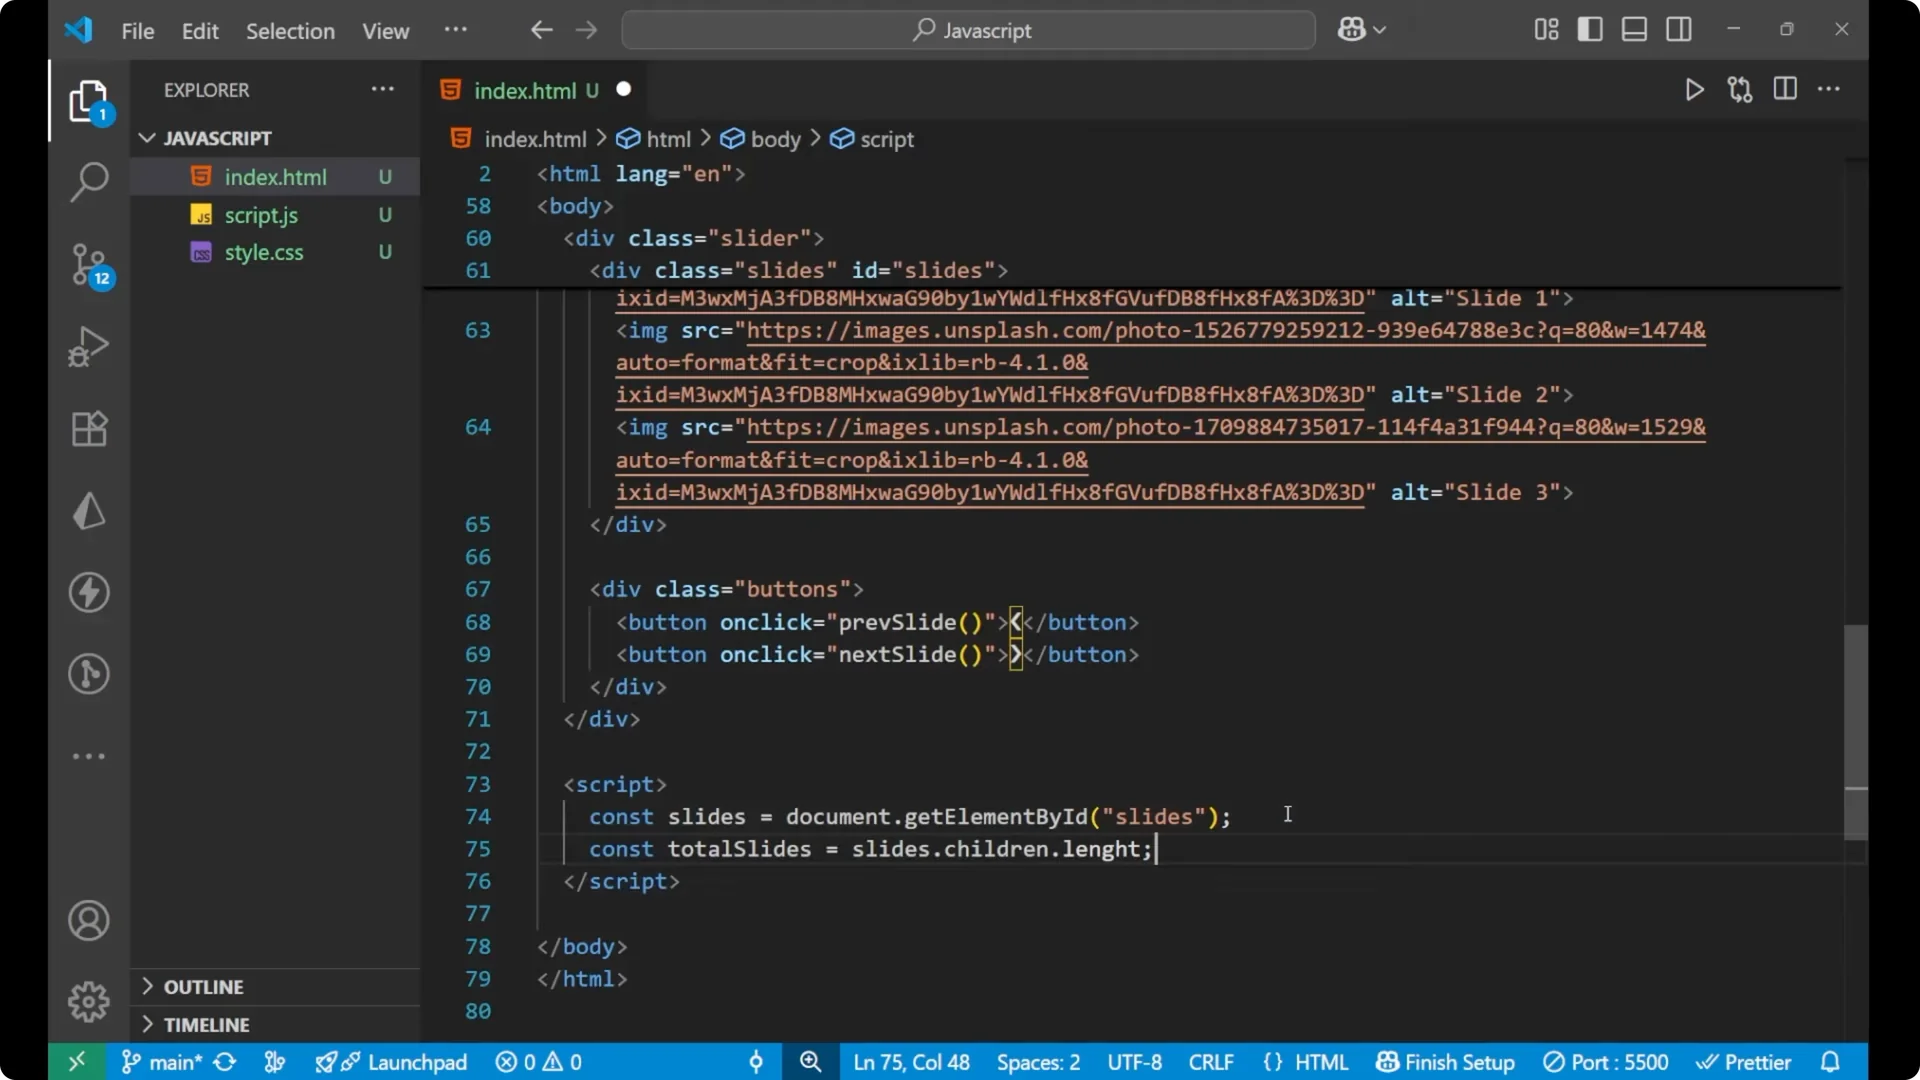
I will write the main _JavaScript_ part now. In the beginning, I will take the element by id for `slides` because inside it all the images are stored.
const slides = document.getElementById('slides');
const totalSlides = slides.children.length;
let index = 0;
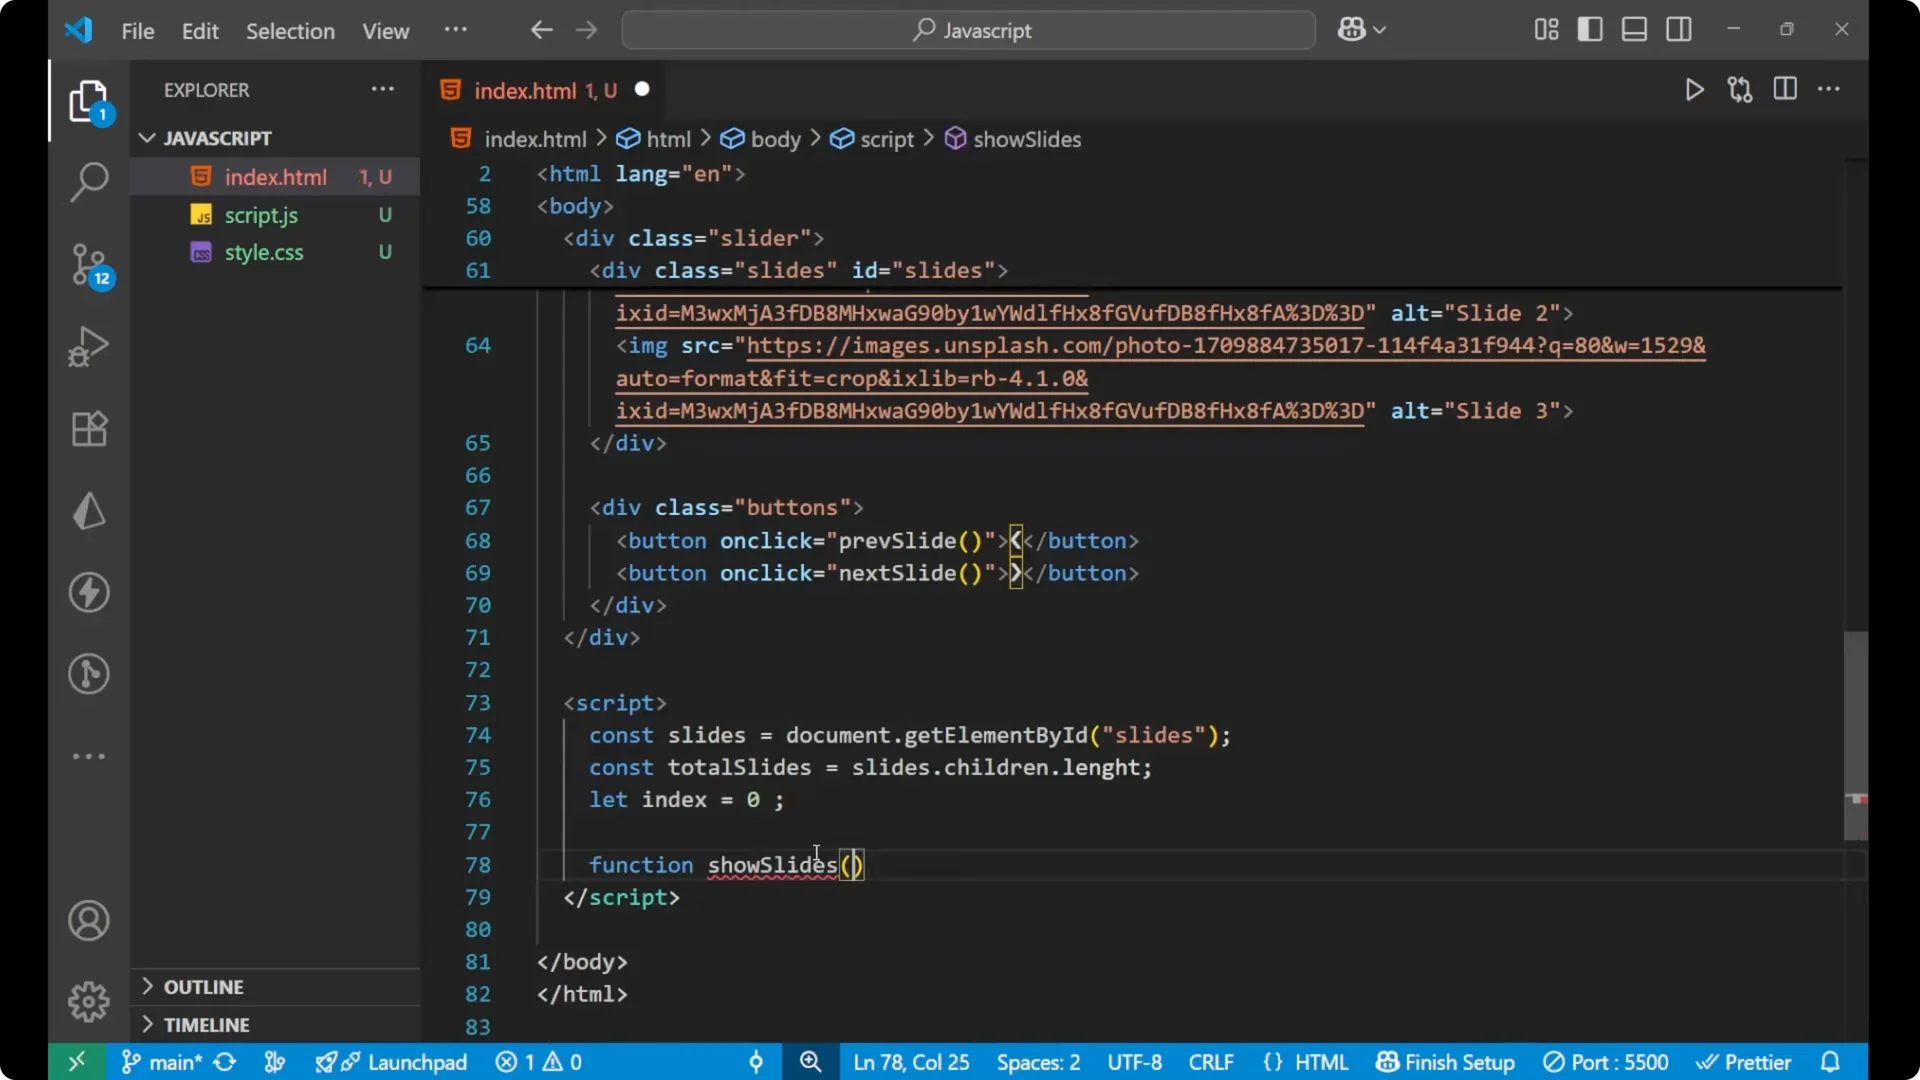
function showSlides(i) {
index = (i + totalSlides) % totalSlides;
slides.style.transform = `translateX(-${index * 100}%)`;
}
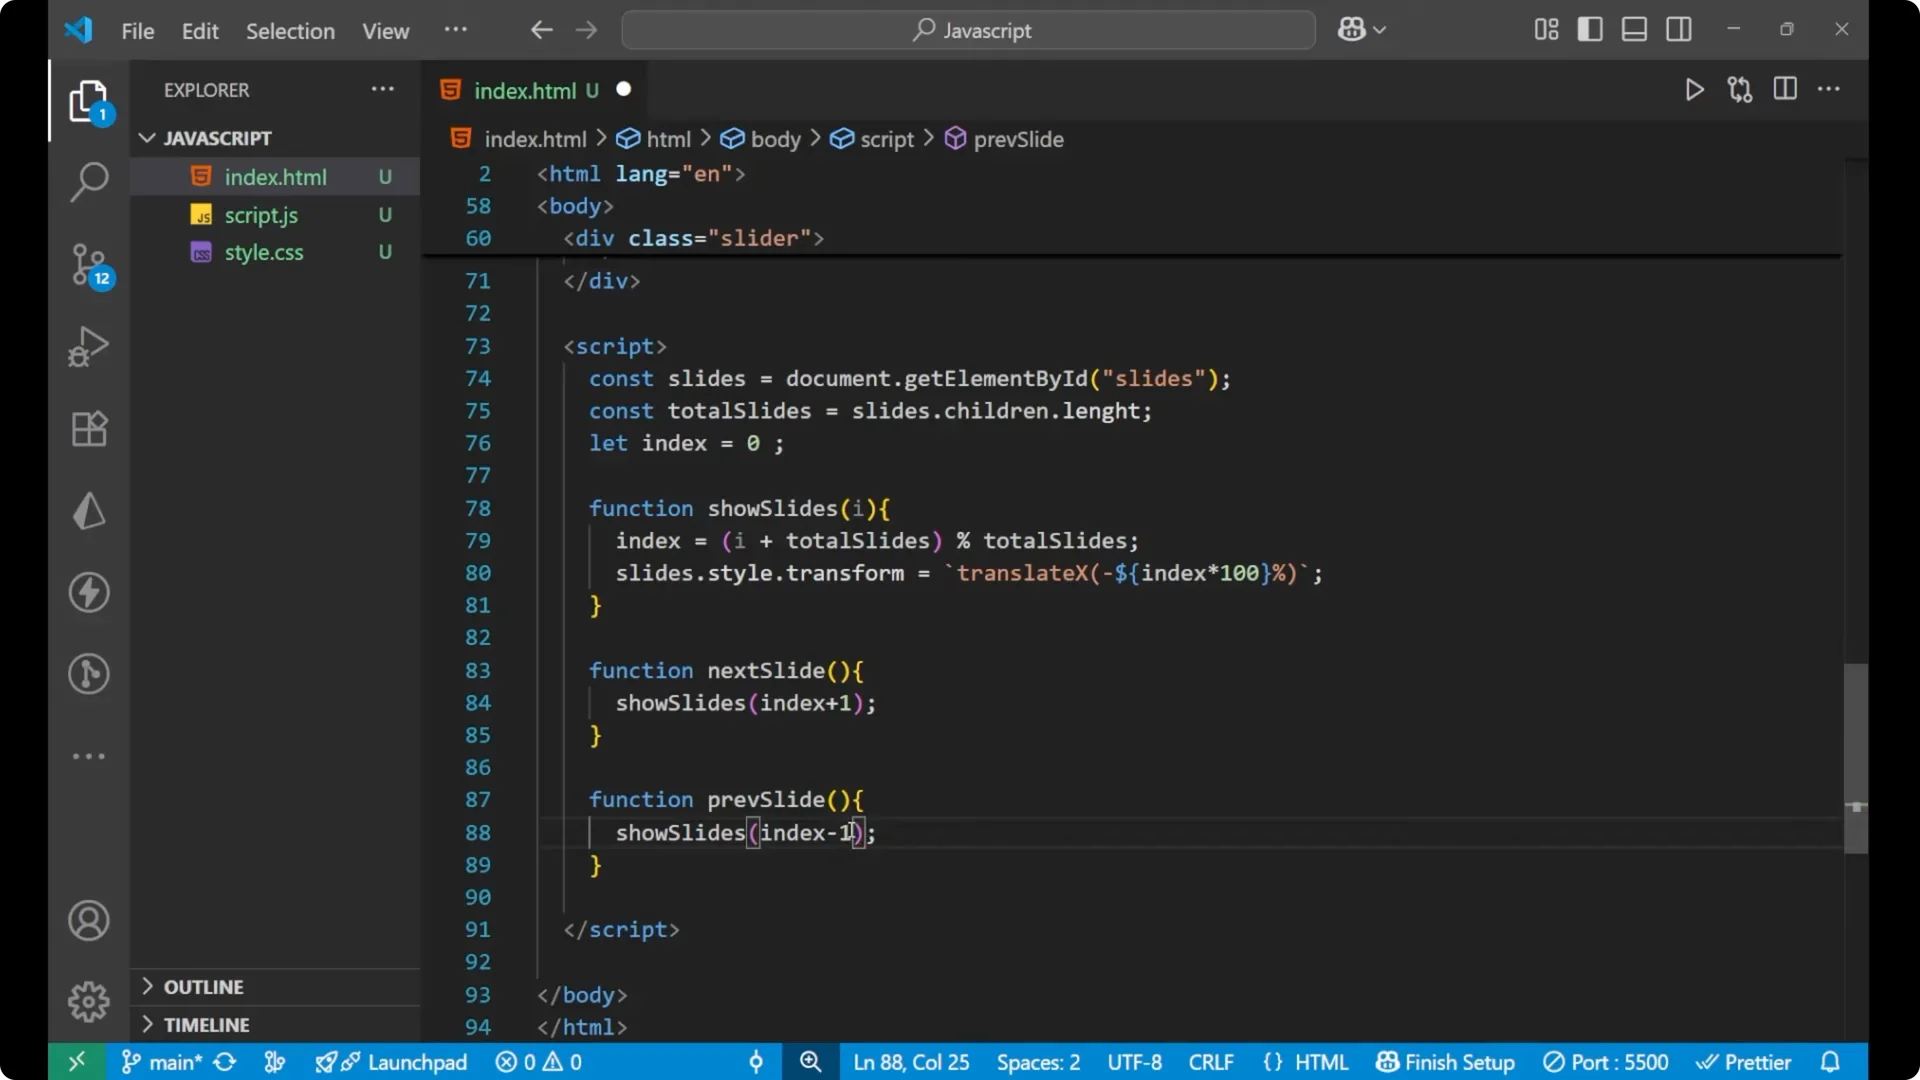
function nextSlide() {
showSlides(index + 1);
}
function previousSlide() {
showSlides(index - 1);
}
// initialize
showSlides(0);

Step-by-step logic
Take the element by id for the slides.
Set `const totalSlides = slides.children.length`.
Initiate a variable as `let index = 0` because its value is going to change.
Create a function `showSlides(i)`.
Inside it, set `index = (i + totalSlides) % totalSlides` to keep the index within bounds.
Change the CSS with `slides.style.transform = translateX(-index * 100%)`.
Create `nextSlide()` and call `showSlides(index + 1)`.
Create `previousSlide()` and call `showSlides(index – 1)`.
Wire the buttons to these functions in the HTML with `onclick`.
Why translateX works
For index 0, the first image is visible.
When you go to the next image, the index becomes 1, and the container translates by 100% in the X direction. With each click, it moves `index * 100%`, which slides to the correct image.
JavaScript Image Slider: Hooking Up the Buttons
I am having two different buttons. One is for the previous slide and one is for the next slide. I call `previousSlide()` on the left button and `nextSlide()` on the right button.
When you click on the right side button, it calls `showSlides(index + 1)` and transforms the slides by `index * 100%`. The same logic applies to the previous button with `index – 1`.
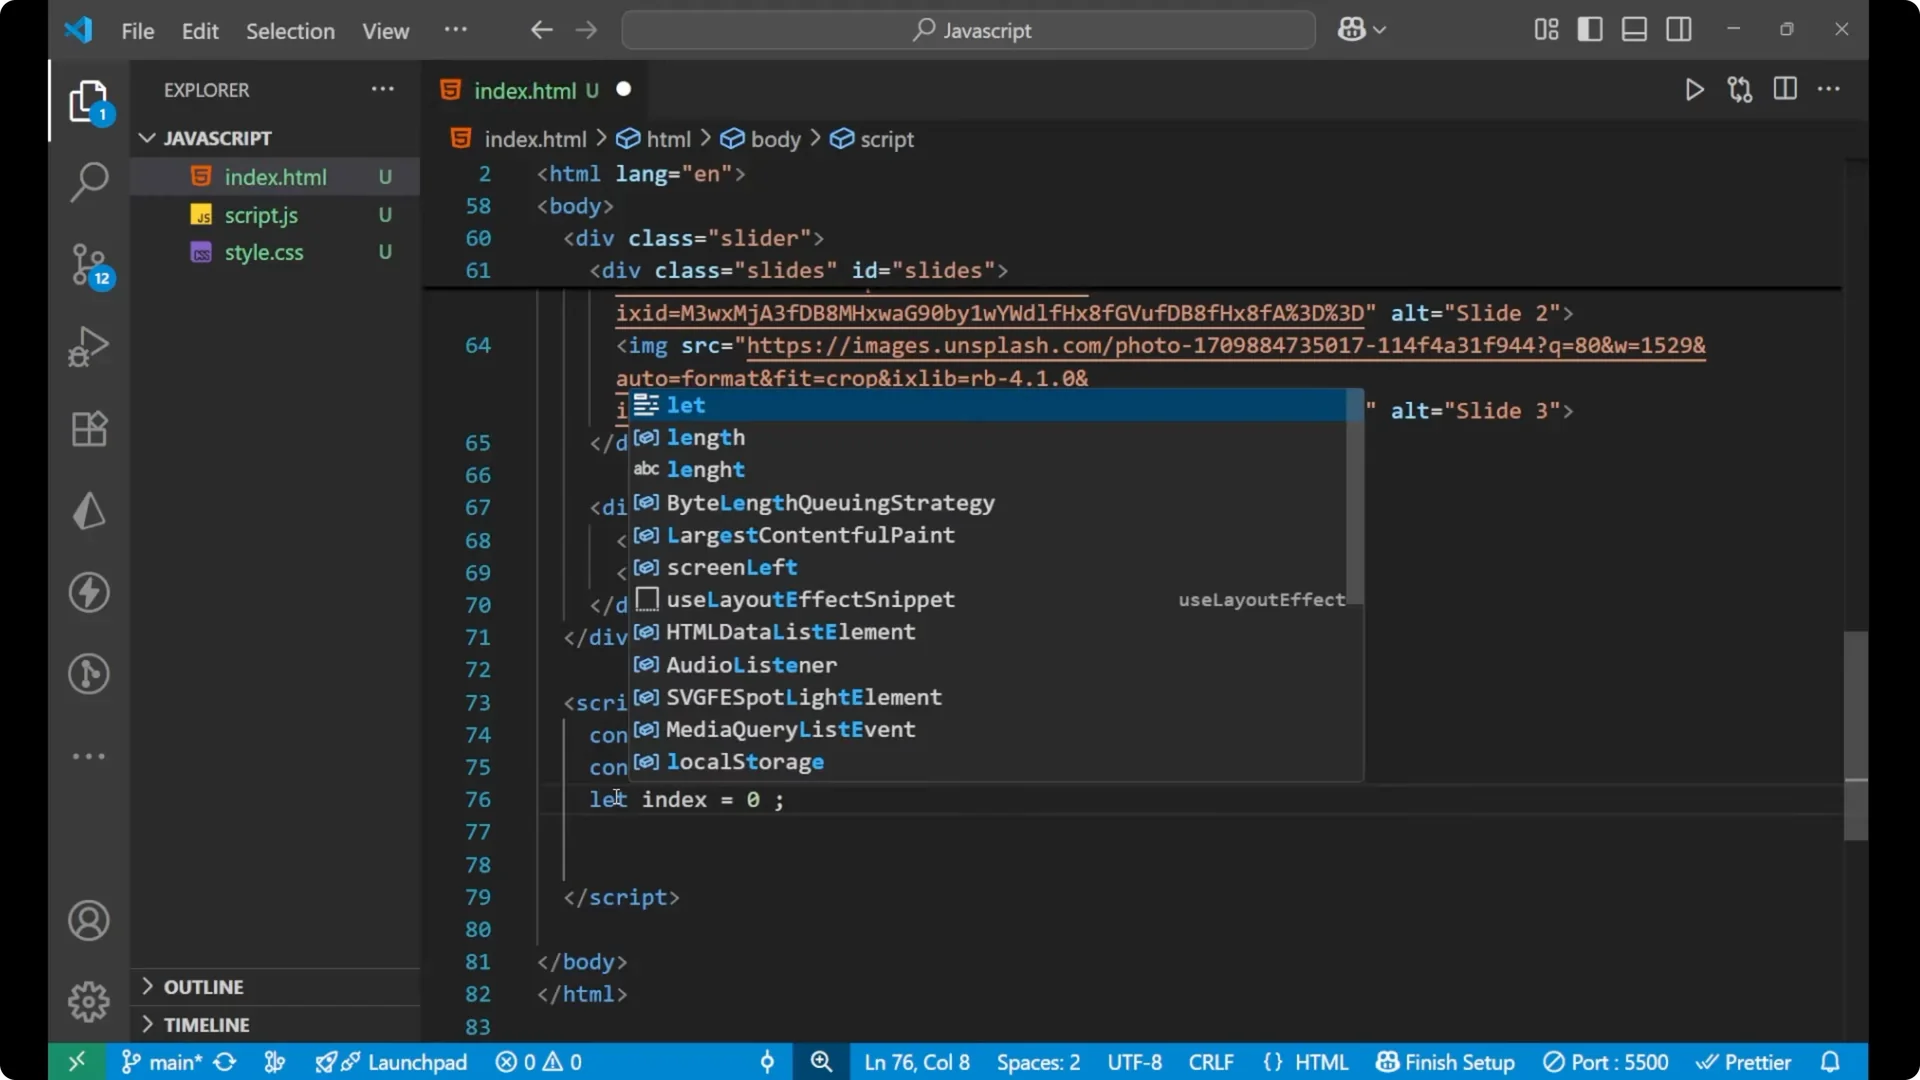
JavaScript Image Slider: A Common Mistake to Avoid
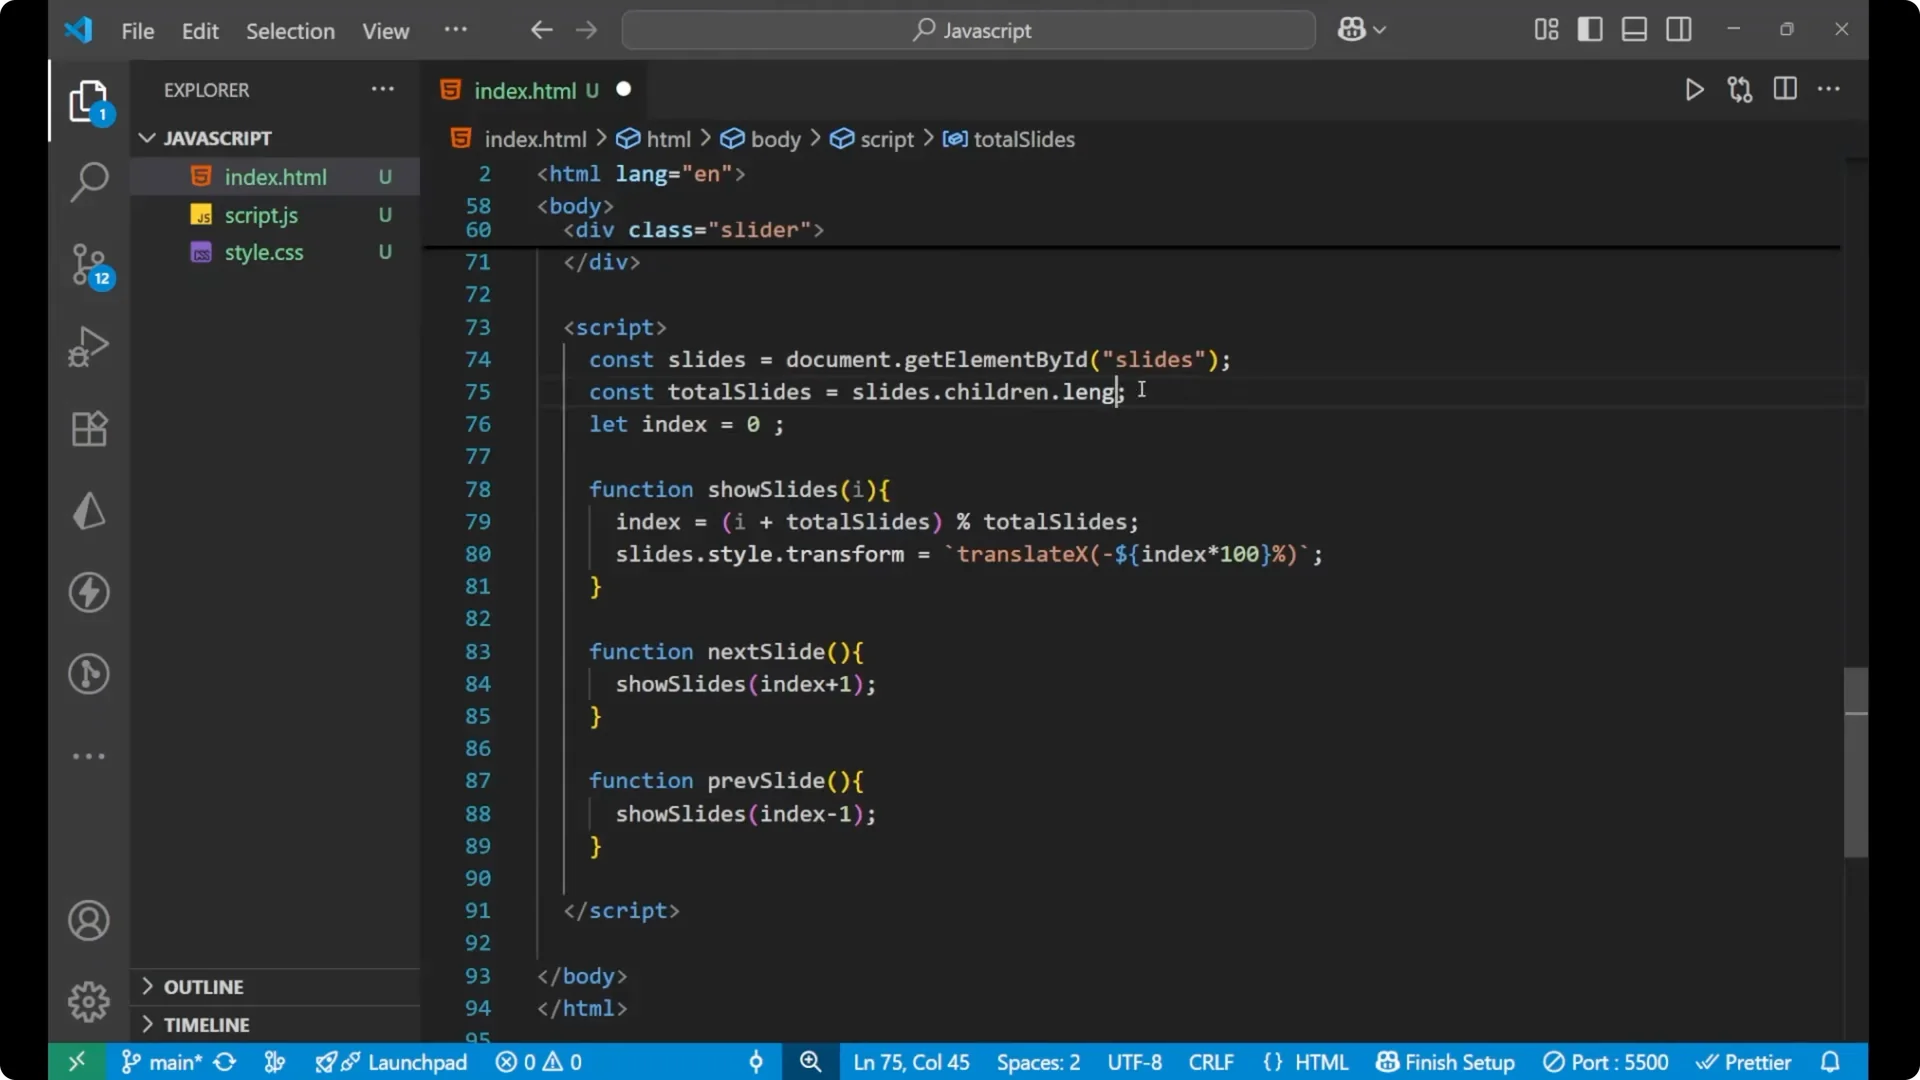
If it is not working, check the spelling of _length_ in `slides.children.length`. A very basic mistake is misspelling it. Fixing that makes the image slider work correctly.
Final Thoughts
This is the complete functionality and the main logic behind building an image slider in _JavaScript_. The structure is a main `slider` container, a `slides` flex row of images, and absolute-positioned buttons. The logic maintains an _index_, wraps it using modulo with _totalSlides_, and applies a _translateX_ to show the correct image.